Chocolate Chip Snowball Cookies
This post may contain affiliate links. Please see my disclosure policy for more information.
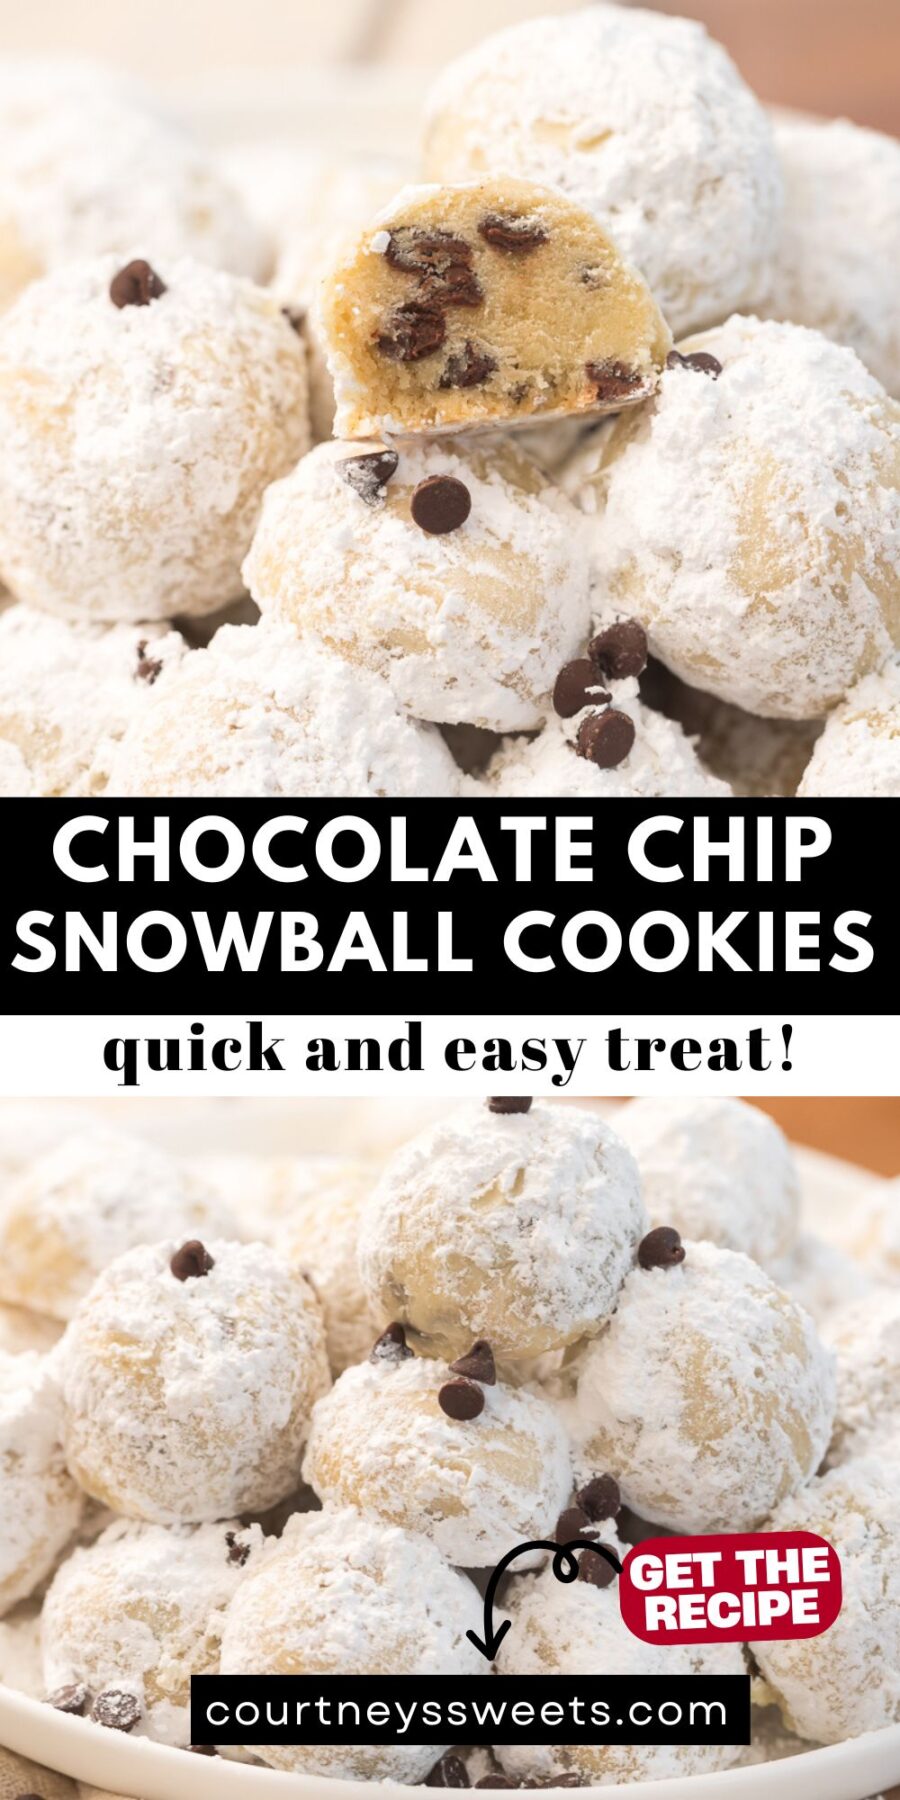
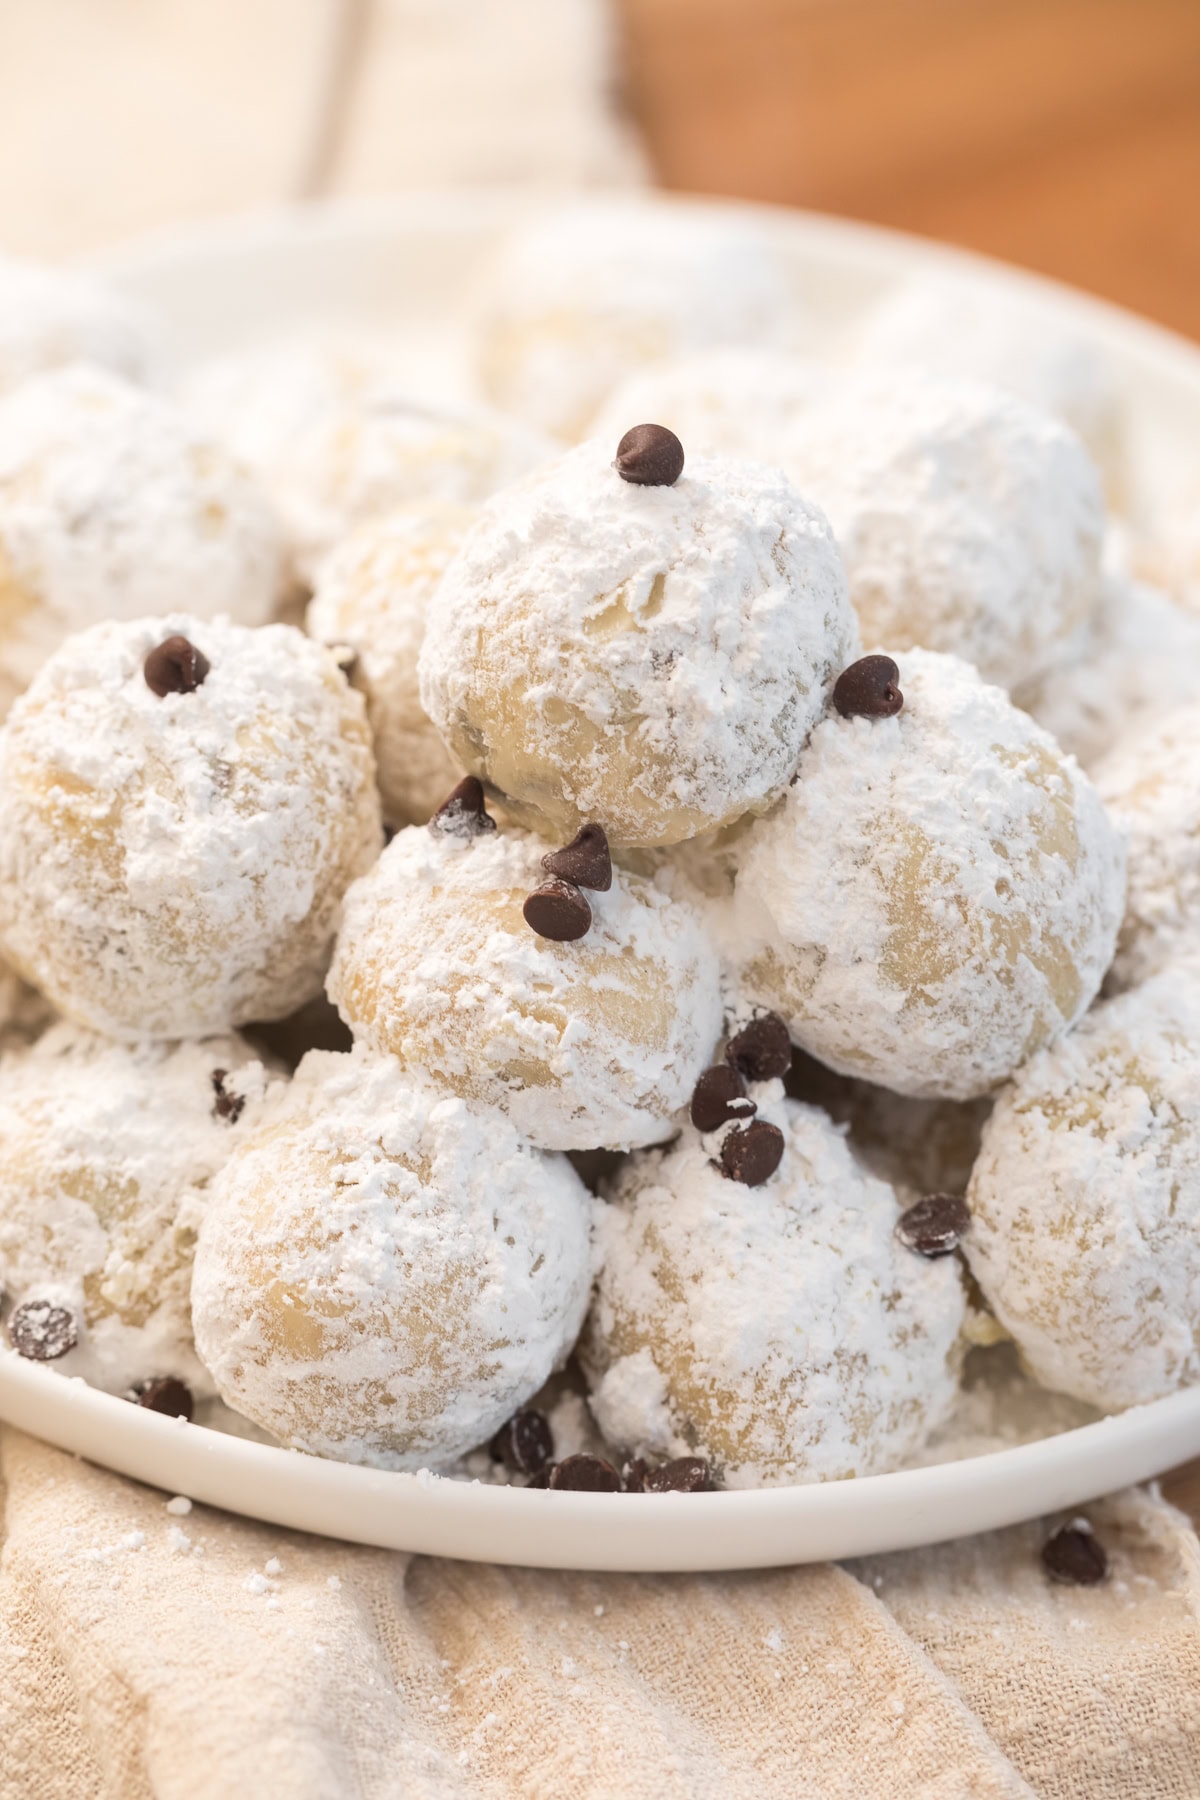
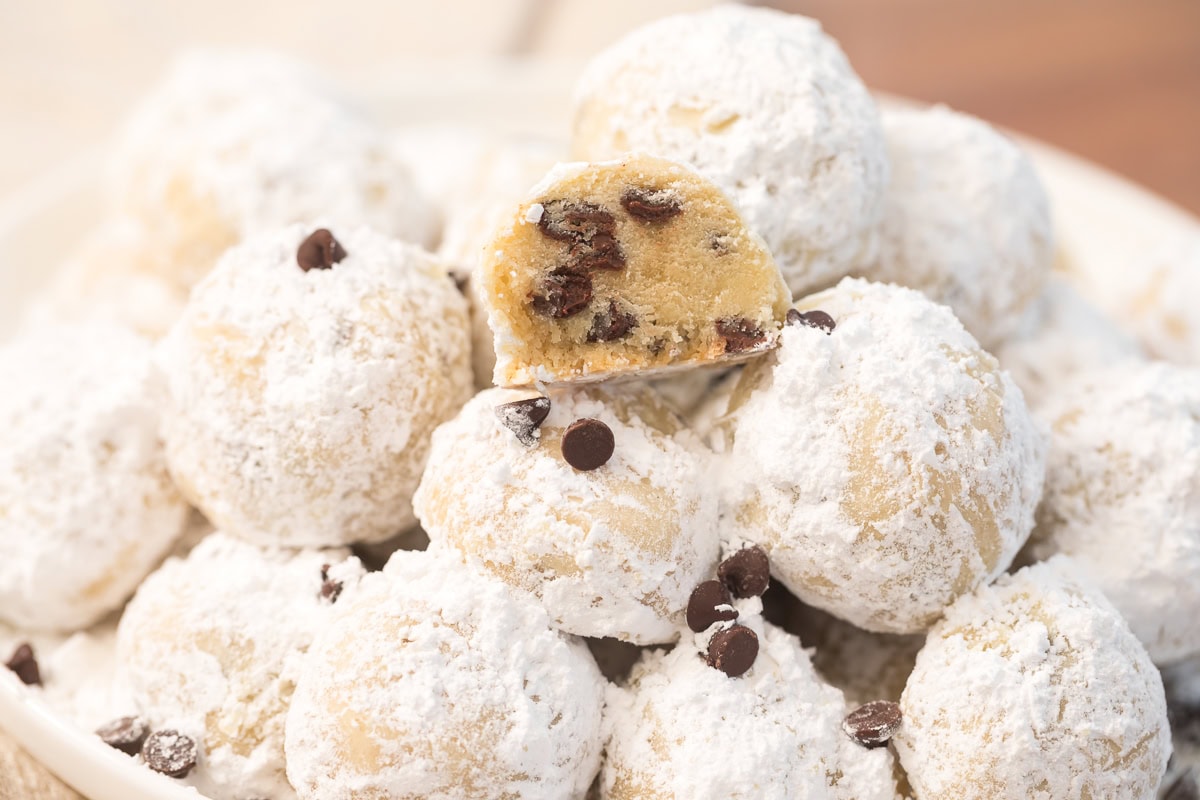
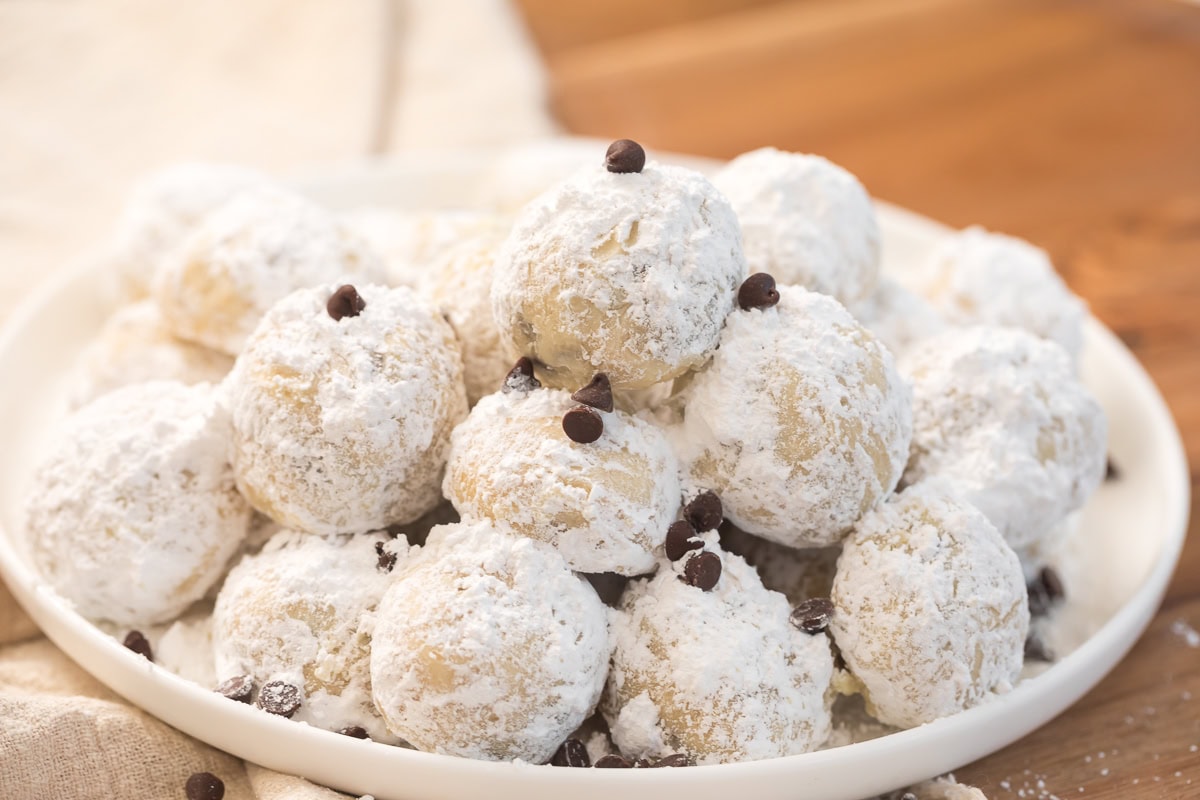
These Chocolate Chip Snowball Cookies are melt in your mouth delicious and perfect for cookie swaps, cookie trays, and the holiday dessert table!

Chocolate Chip Snowball Cookies are one of my favorite holiday treats because they feel like little bites of nostalgia. They’re buttery, melt in your mouth, and filled with mini chocolate chips that make every cookie feel a little extra special. I grew up making versions of these with my family, and they’re a must during the holidays!
What I love most about these cookies is how simple they are. No chilling, no fancy techniques, and they bake up beautifully round every time. They’re a great project for kids too because rolling the dough into little snowballs feels almost like playdough time.
These cookies stay tender for days, and the powdered sugar coating makes them look snowy and festive without extra effort. Not a fan of chocolate chip? Try my Peppermint Snowball Cookies!
Quick Bites About This Recipe
Skill Level: Easy for beginners and quick to prep.
Swaps: Use almond extract instead of vanilla or swap mini chocolate chips for finely chopped nuts.
Make Ahead: Shape the dough balls and refrigerate up to 48 hours before baking.
Freezer Friendly: Freeze baked cookies up to 3 months. You can also freeze them without the powdered sugar.
Variations & Substitutions: Try rolling in cocoa powdered sugar or adding a pinch of cinnamon for a warm twist.

Chocolate Chip Snowball Cookies Ingredients
Powdered sugar: Sweetens the dough and helps create that classic tender, melt in your mouth texture.
Butter: Softened butter gives the cookies richness and helps them hold their round shape. If you’re using unsalted butter, add 1/4 teaspoon salt.
Vanilla extract: Adds cozy warmth that pairs perfectly with chocolate.
All purpose flour: Provides structure. It should feel soft but not sticky when the dough comes together.
Mini chocolate chips: The tiny size keeps the cookies perfectly round without cracking.
Powdered sugar for coating: Gives the cookies their snowy finish once baked and cooled.
How to Make Chocolate Chip Snowball Cookies
Start by preheating your oven to 325°F so it’s ready to go when the dough is mixed. Set up a baking sheet. If it’s nonstick, you can leave it as is. Otherwise line it with parchment so the cookies release easily.

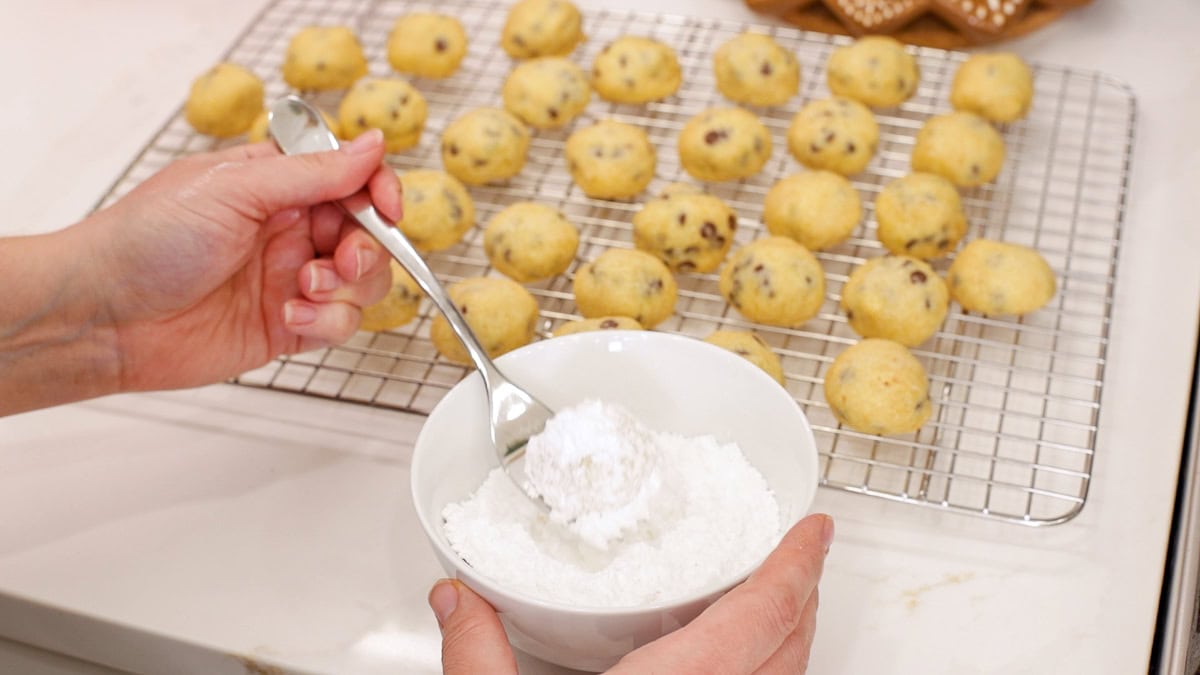
Mix the sugar coating first. Add powdered sugar to a small bowl and whisk it so it’s nice and fluffy. Set it aside so it’s ready for dipping once the cookies are cool.
In a large mixing bowl, beat the softened butter, powdered sugar, and vanilla until everything is creamy and combined. The mixture should look pale and smooth.
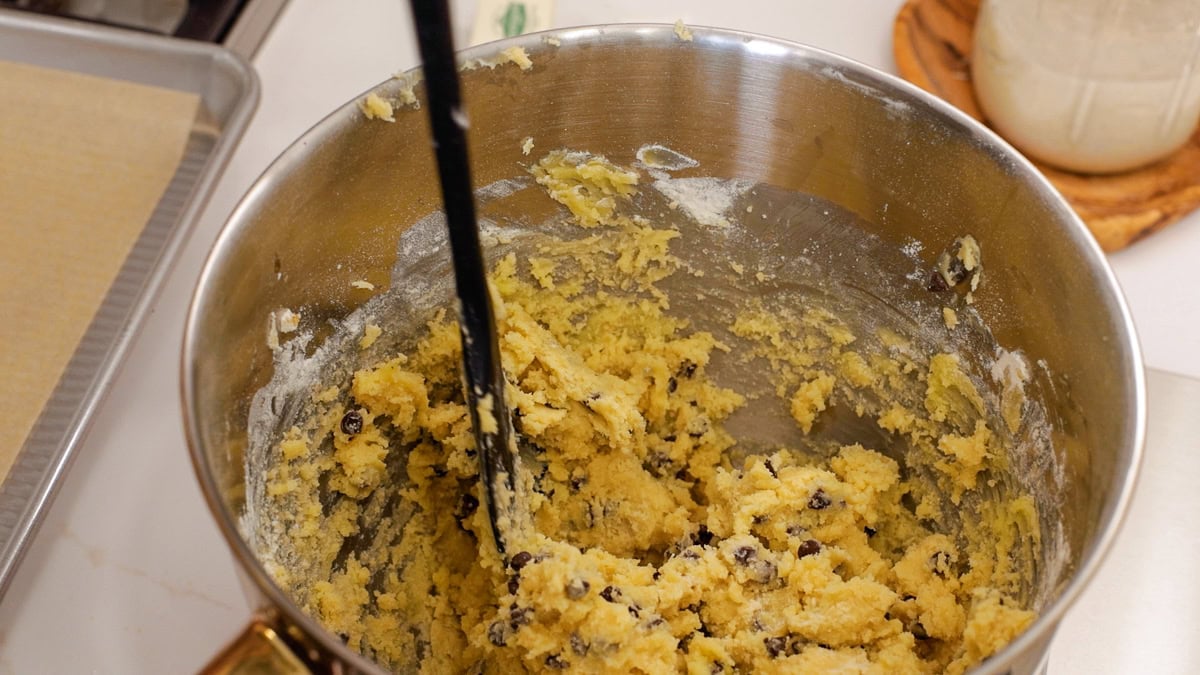
Add the flour and salt slowly. Mix until the dough comes together into a soft dough. It shouldn’t be dry or crumbly. Fold in the mini chocolate chips until evenly distributed.
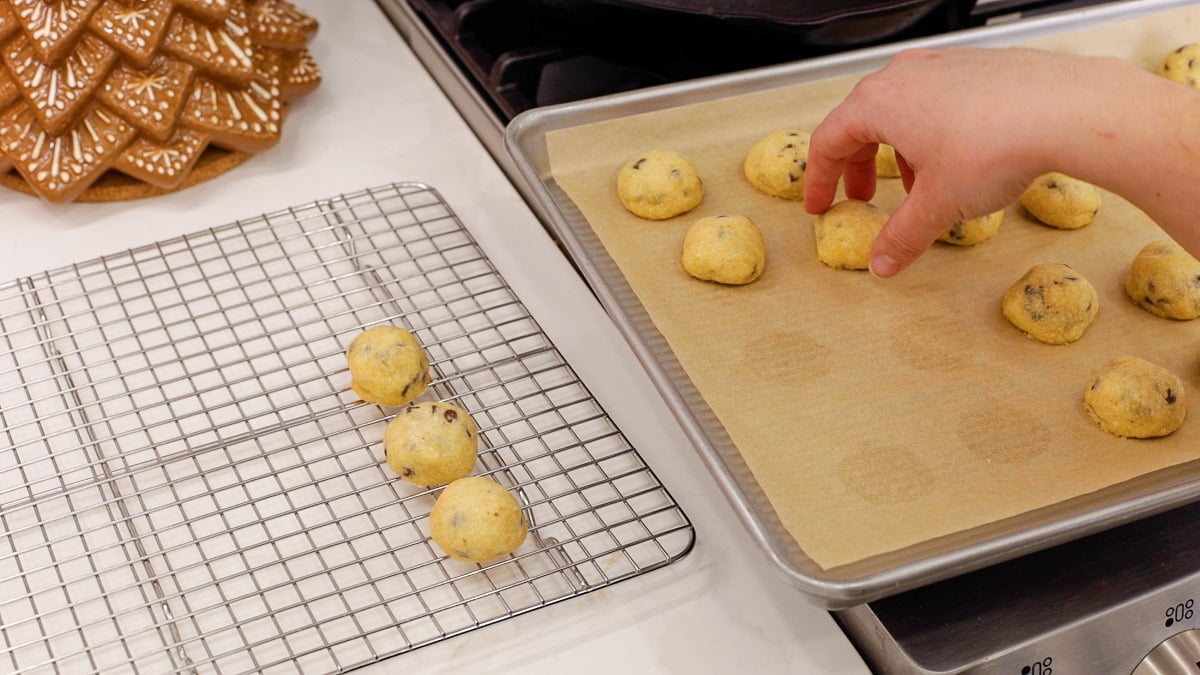
Scoop about 1 tablespoon portions of dough, squeeze gently in your hand if it feels crumbly, and roll into smooth little balls. Place them on the baking sheet with a bit of space so they bake evenly.

Bake for 12-15 minutes. The bottoms should be lightly golden, but the tops should stay pale. Let them cool completely so they don’t break apart.

I like letting them cool for a few minutes on the baking sheet (2-4 mins) and then transferring to a wire rack to completely cool.
Once cooled, roll each cookie generously in the powdered sugar coating. Repeat if you like them extra snowy.
Storing and Reheating (If There’s Any Leftovers!)
Refrigerate: Store in an airtight container on the counter for 5 days or refrigerate up to 1 week.
Freeze: Freeze baked cookies up to 3 months. Thaw at room temperature. I prefer to skip the coating until after defrosting.
Recipe Tips and Notes
- If your dough feels crumbly, squeeze it briefly in your hands to help it come together.
- Make sure the cookies cool completely before rolling in powdered sugar.
- For extra coverage, roll them twice.

Chocolate Chip Snowball Cookies
Equipment
Ingredients
- 1/2 cup powdered sugar 57 g
- 1 cup butter softened, 226 g (add 1/4 teaspoon salt if not using salted butter)
- 1 teaspoon vanilla extract
- 2 1/4 cups all purpose flour 270 g
- 1/2 cup mini chocolate chips heaping, 90 g
- 1/2 cup powdered sugar 57 g, for coating
Instructions
- Preheat the oven to 325 F. Prepare a cookie sheet. If the sheet is nonstick, no greasing is needed. Otherwise line it with parchment to prevent sticking.
- Place 1/2 cup powdered sugar for coating in a shallow bowl. Stir to remove any clumps and set aside.1/2 cup powdered sugar
- In a large mixing bowl, beat the softened butter and 1/2 cup powdered sugar until creamy and smooth. Mix in the vanilla extract.1/2 cup powdered sugar, 1 cup butter, 1 teaspoon vanilla extract, 1/2 cup powdered sugar
- Add the flour and salt gradually, mixing until the dough comes together. It should feel soft and cohesive, not crumbly.2 1/4 cups all purpose flour
- Stir in the mini chocolate chips until evenly distributed.1/2 cup mini chocolate chips
- Scoop the dough into 1 tablespoon portions. Each portion should be about 15 g. Roll into smooth balls and place on the prepared baking sheet, leaving about 2 inches of space.
- Bake for 12-15 minutes or until the bottom edges are lightly golden. The tops should remain pale.
- Cool the cookies on the baking sheet for several minutes, then transfer to a cooling rack to cool completely.
- Once fully cooled, roll each cookie in the powdered sugar coating. For a thicker snowy finish, roll them twice.
Video

Notes
- Substitutions: Swap mini chocolate chips for finely chopped nuts or use almond extract in place of vanilla.
- Storage: Keep cookies in an airtight container for 5 days or refrigerate up to 1 week. Freeze baked cookies up to 3 months. Thaw at room temperature. I prefer to skip the coating until after defrosting.