Jello Poke Cake
This post may contain affiliate links. Please see my disclosure policy for more information.

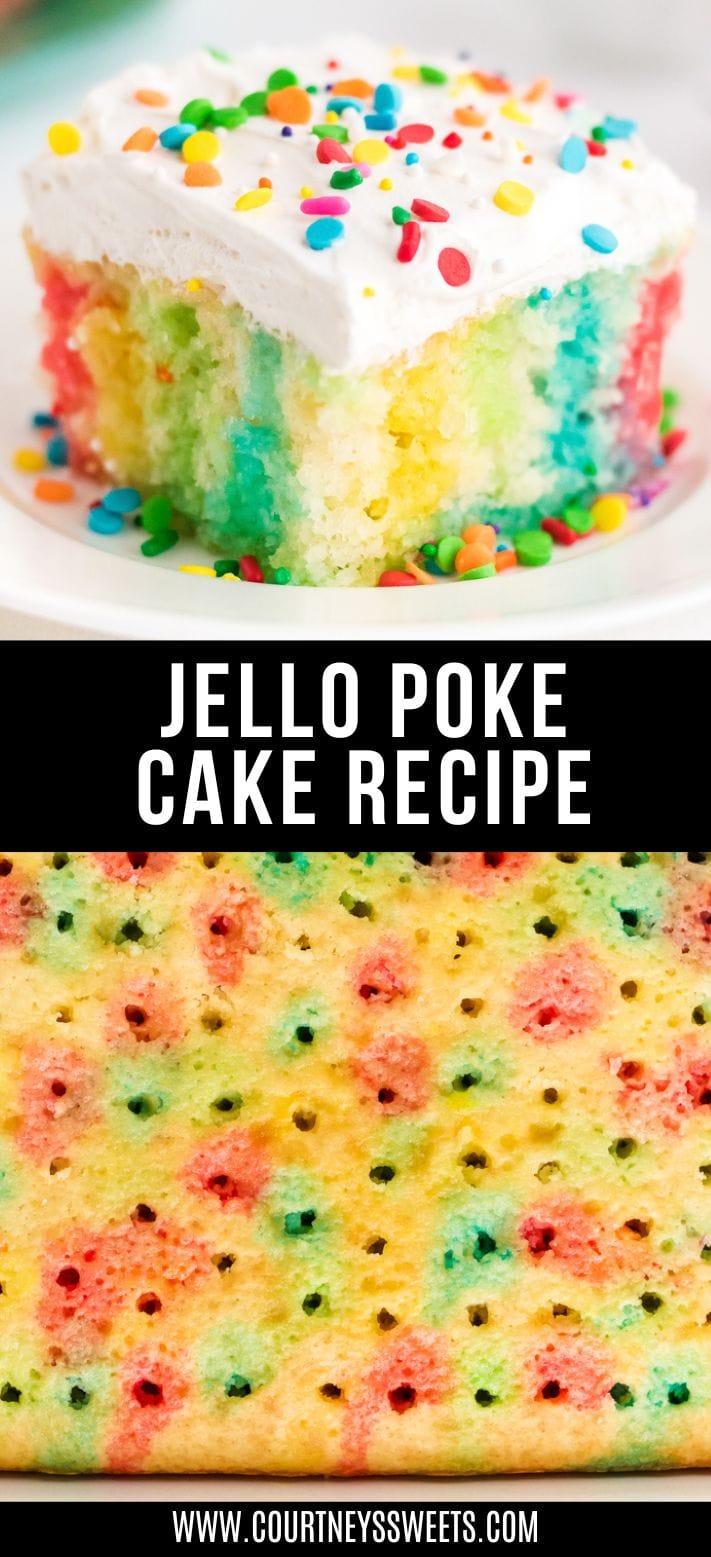
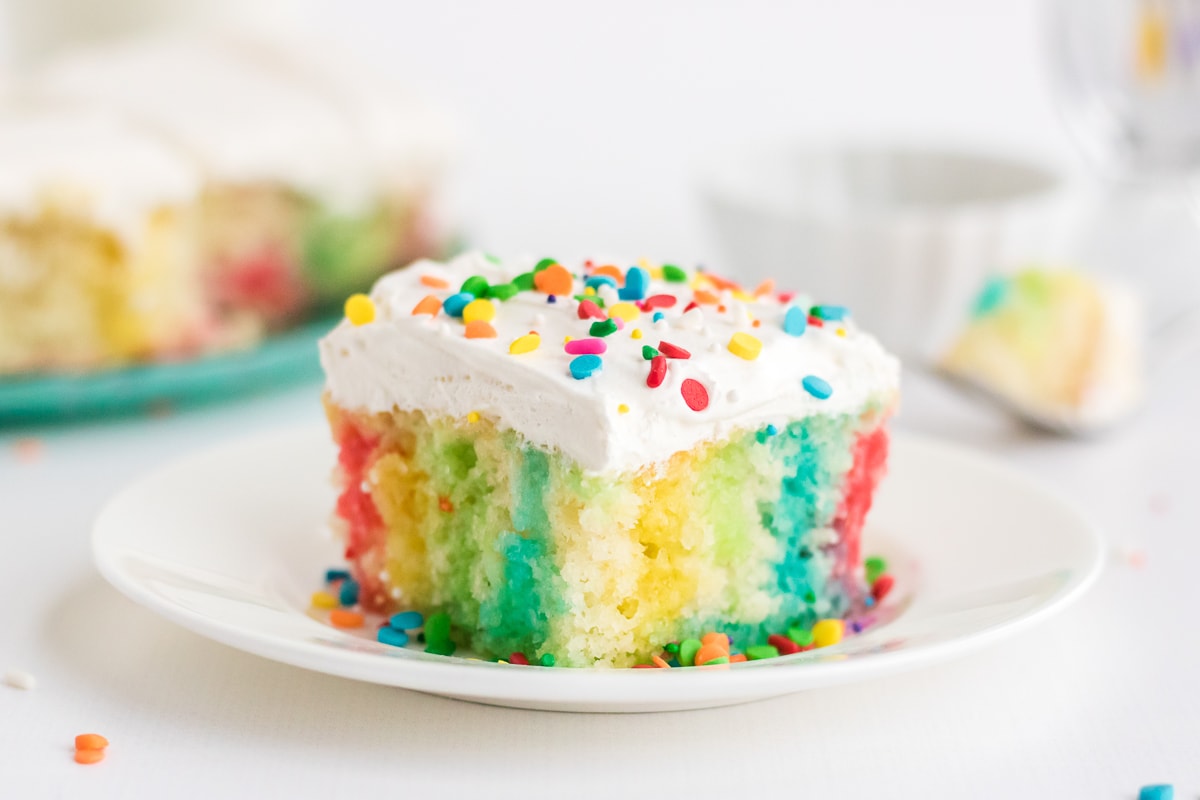
Our Jello Poke Cake has a burst of color and flavor with every slice, perfect for a spring celebration or a dessert to brighten your day!
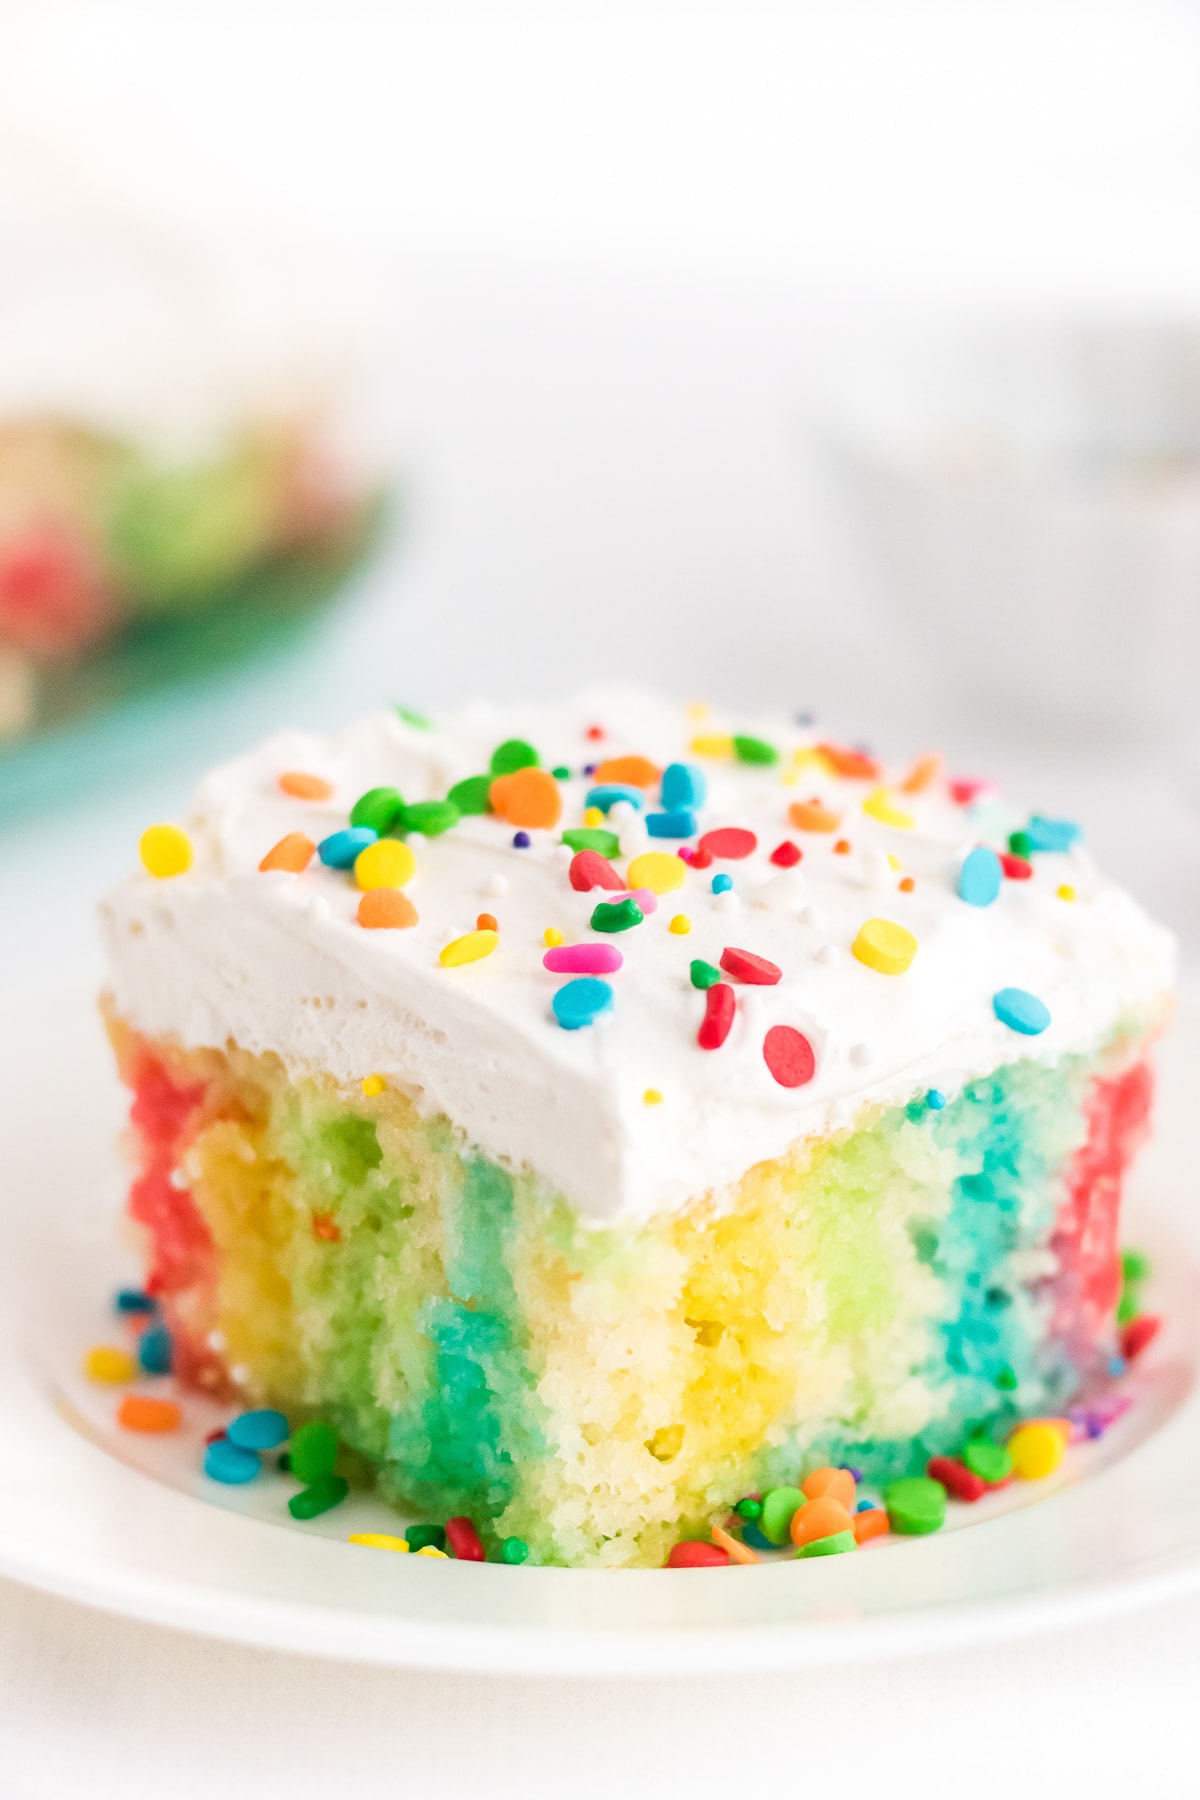
You’re going to love this beautiful Jello Poke cake! The beauty of this recipe is you can use whatever color or flavor jello you prefer! Go with a mix of colors or stick to just one!
We love a good poke cake, especially our Pineapple Poke Cake and Strawberry Poke Cake!
what you’ll need to make poke cake
- White Cake Mix: A versatile and convenient base for the cake, white cake mix! You can also use your favorite white cake recipe.
- Water: This is used to prepare the cake mix, water is essential to achieve the right consistency for a moist and fluffy cake.
- Vegetable Oil: Using oil adds moisture and richness to the cake, ensuring it has a soft, tender crumb.
- Eggs: Room temperature eggs blend more smoothly into the batter, contributing to the cake’s structure and lift.
- Boiling Water: This is needed to dissolve the Jello mixes, allowing them to be easily absorbed into the poked holes of the cake.
- Jello Mix: This jello poke cake uses a mixture of strawberry, lemon, blue raspberry, and lime jello but you can use your preferred colors and flavors.
- Cool Whip Whipped Topping: A light and creamy finishing touch, Cool Whip adds a cloud-like texture and a subtly sweet flavor, perfectly complementing the fruity Jello layers. You can also use your own homemade whipped topping.
How to make jello poke cake
Preheat your oven to 350°F (175°C). Grease a 9×13 inch baking pan lightly.
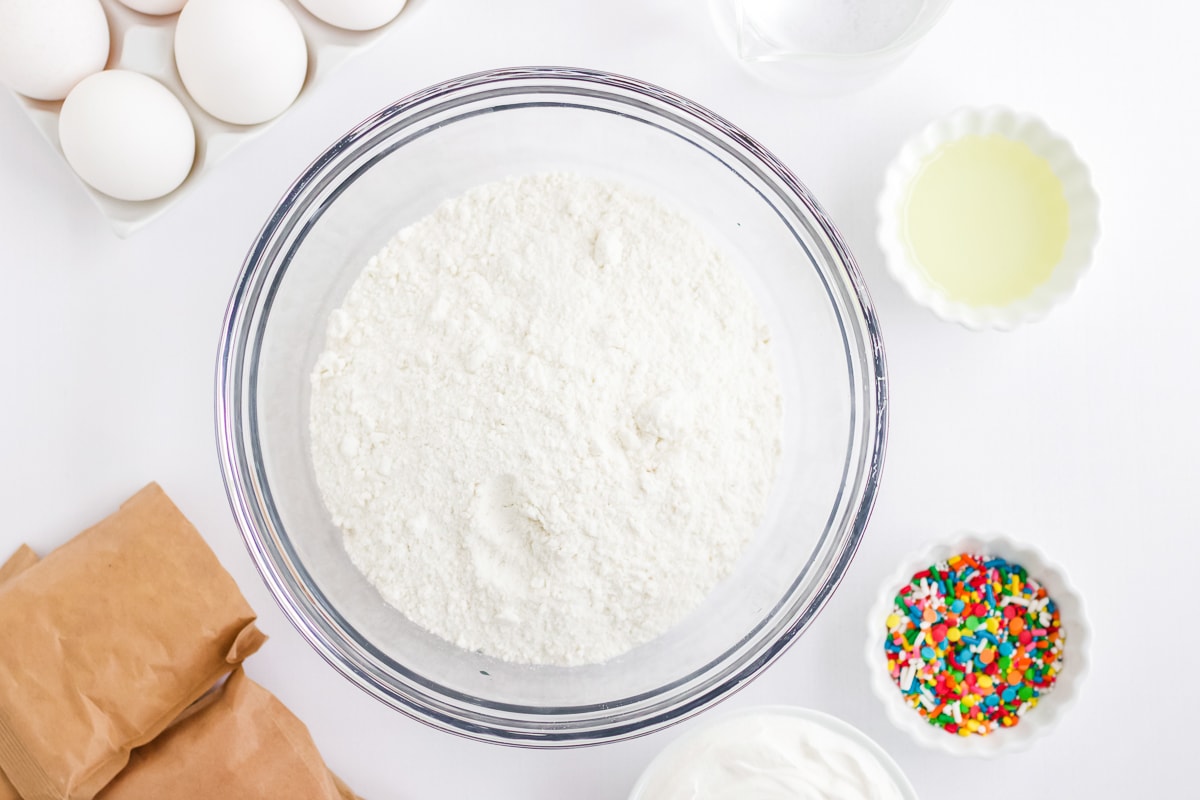
In a large bowl, mix the cake mix, water, vegetable oil, and eggs until well combined.
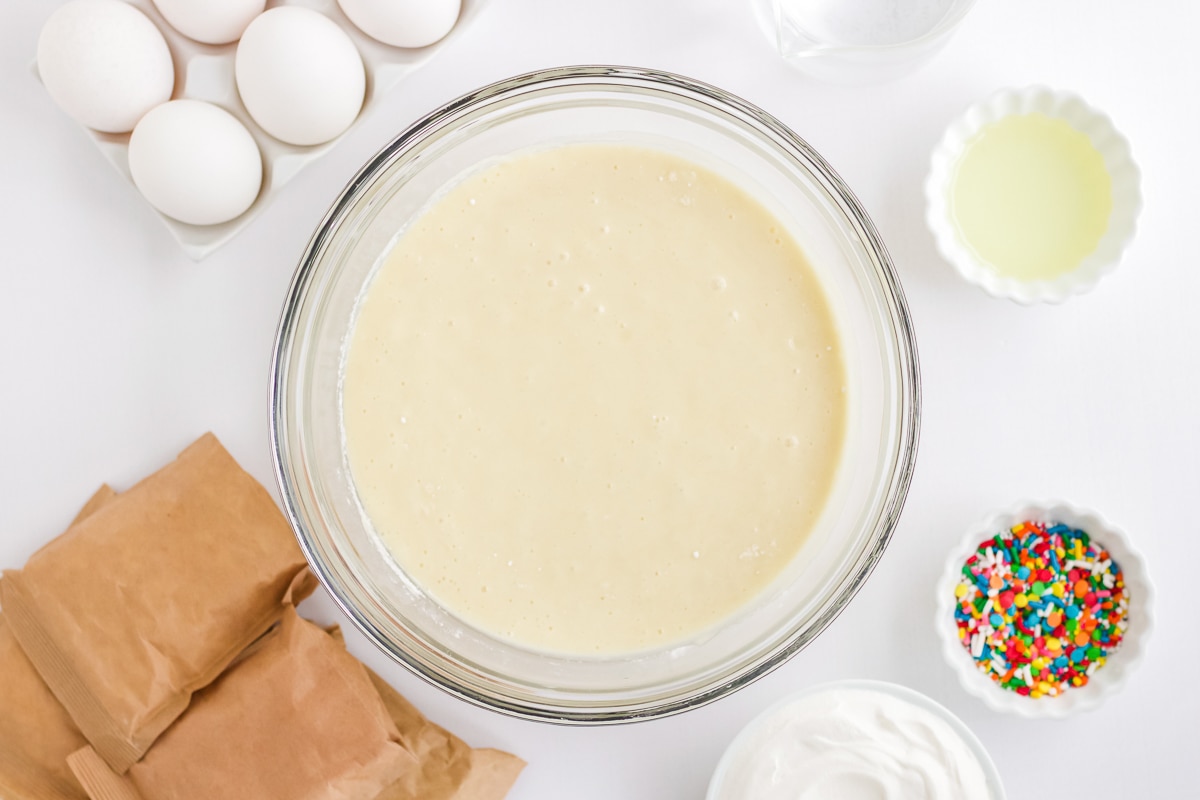
Pour the batter into the greased baking pan, smoothing out to an even layer.
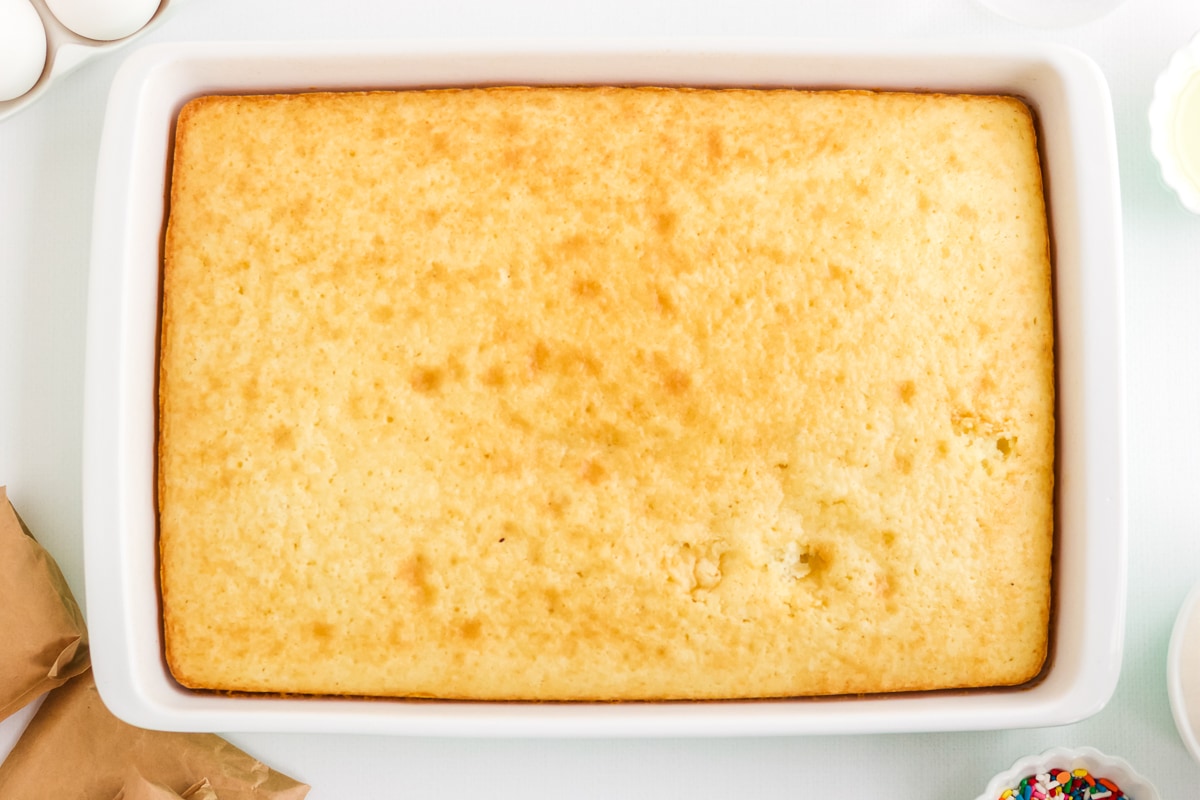
Bake for 25 minutes, or until a toothpick comes out clean from the center. Let the cake cool afterward.
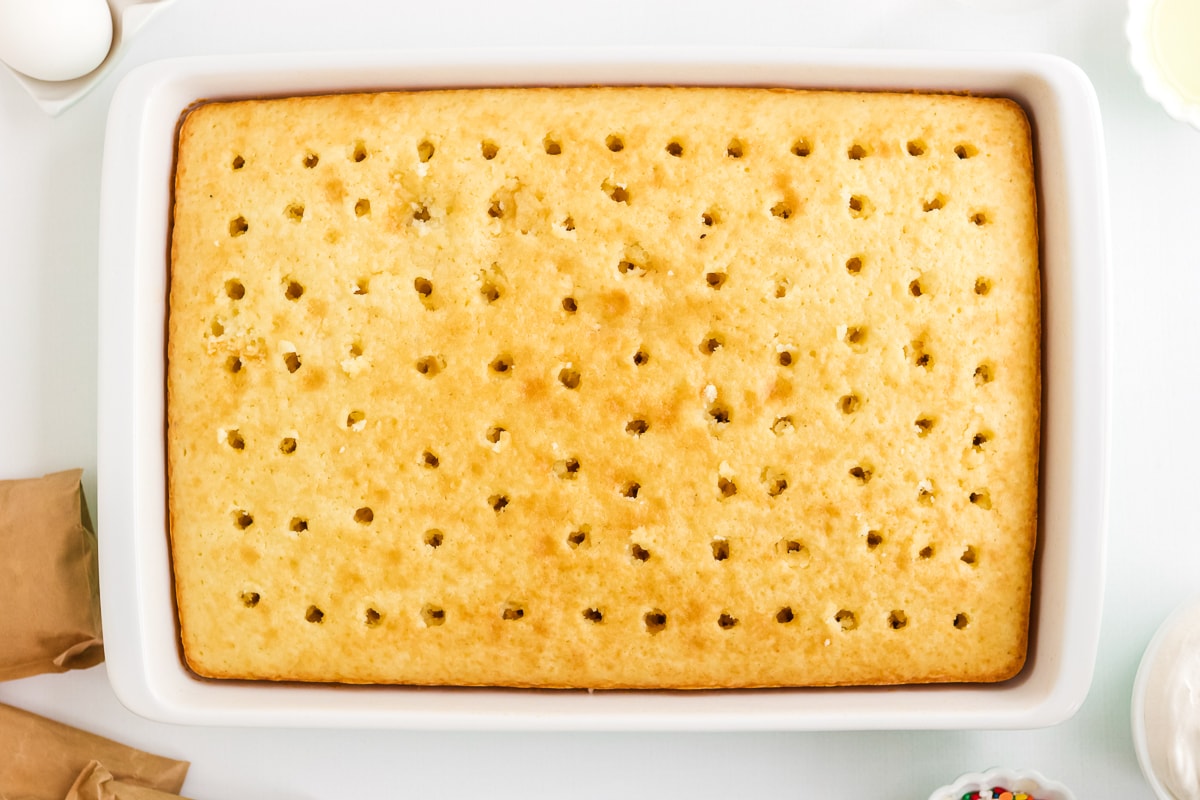
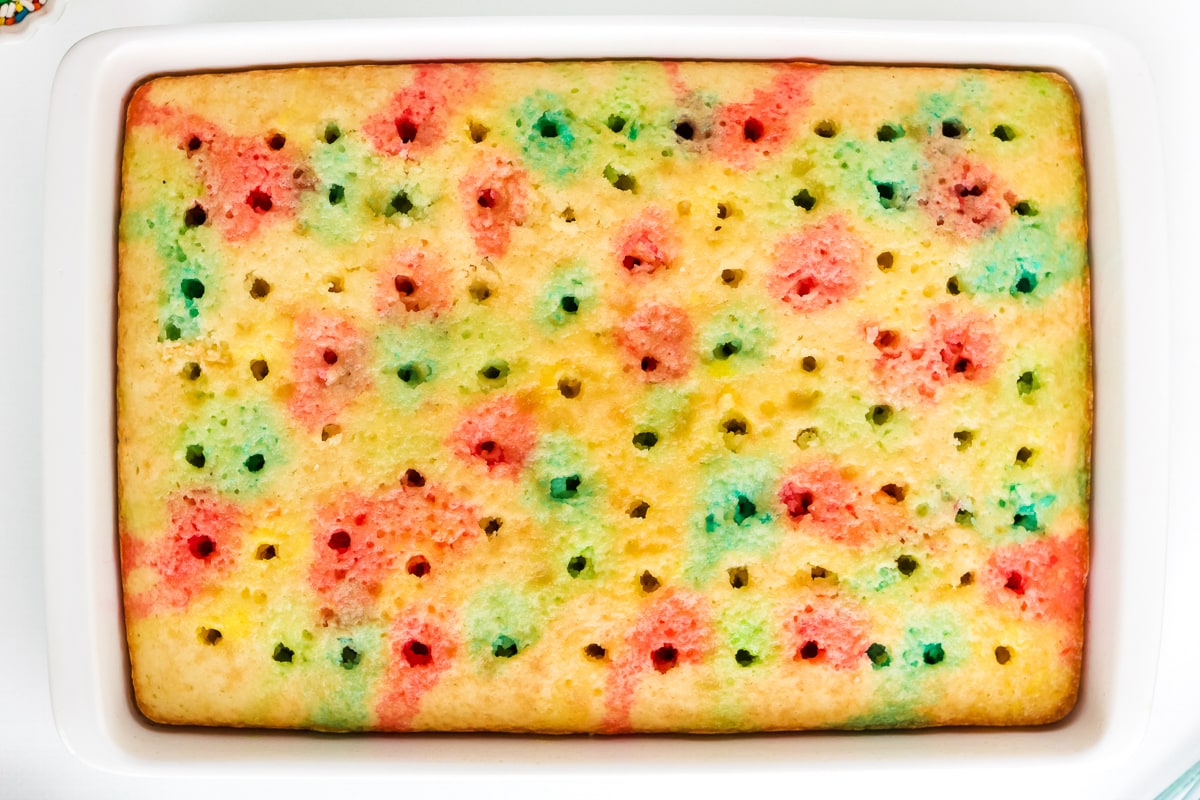
Poke holes all over the cooled cake, about an inch apart, using a wooden spoon handle.

In separate bowls, dissolve each jello mix in 1 cup of boiling water. Stir until fully dissolved.
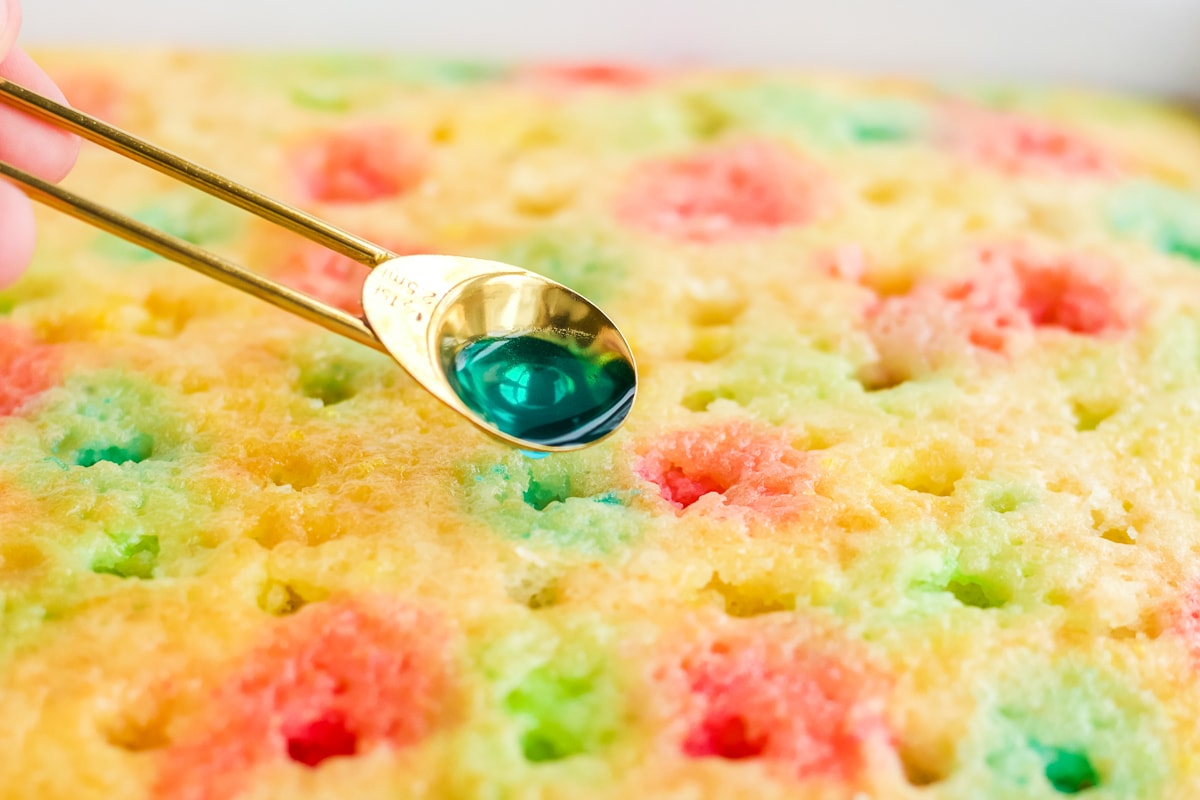
Pour the jello mixtures into the holes in the cake, alternating colors. Don’t use all the mixture.
Refrigerate the cake for 2 hours to allow the jello to set.
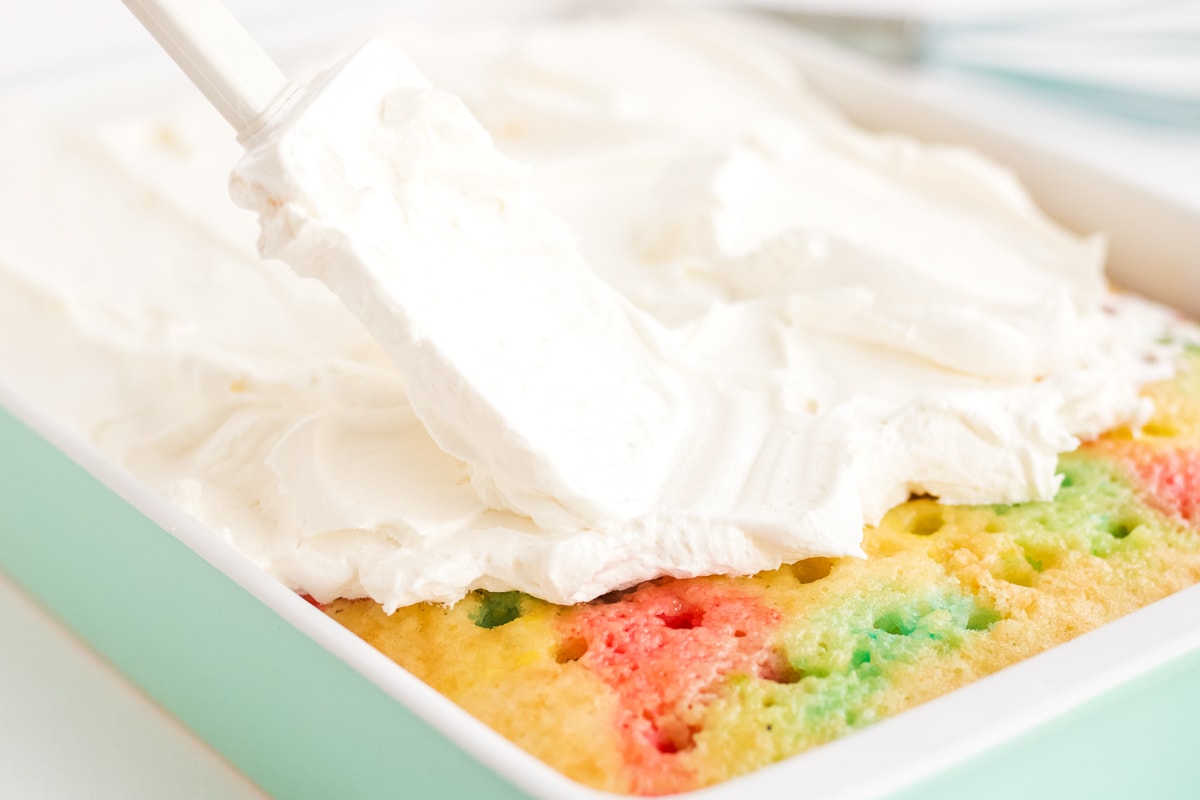
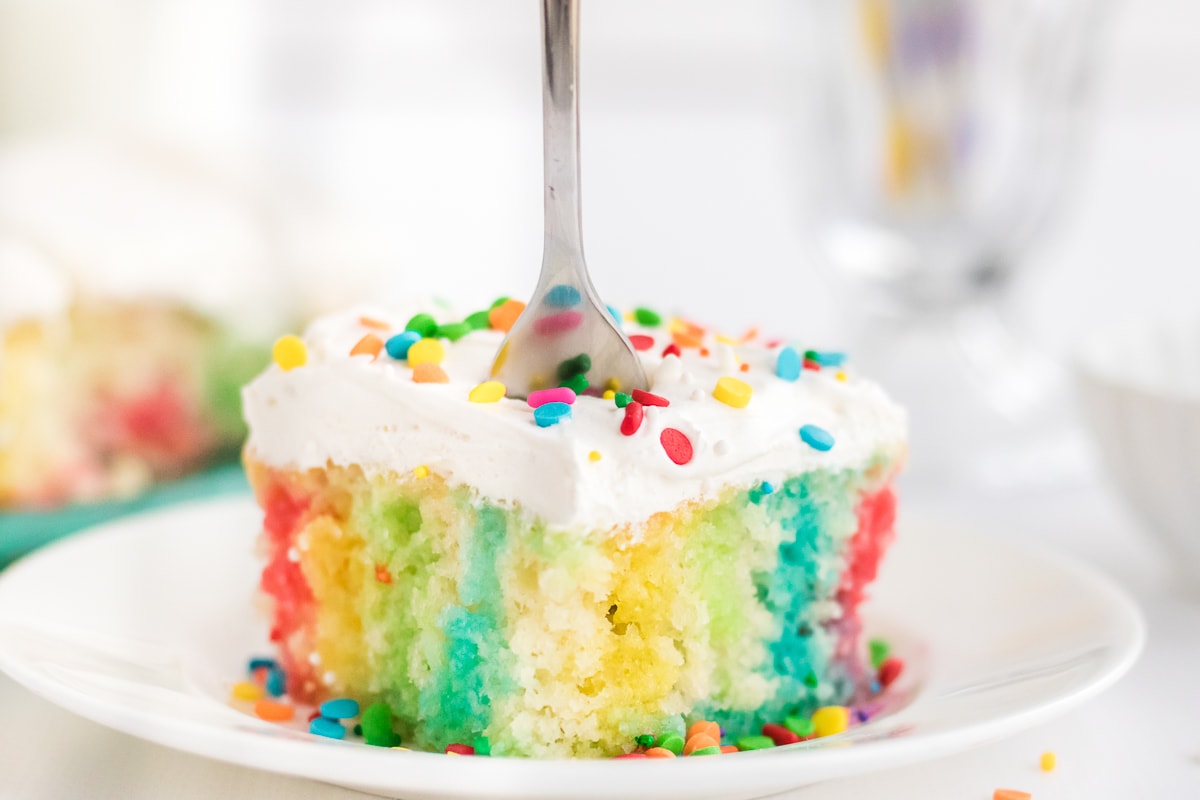
Spread the whipped topping evenly over the cooled cake. Add sprinkles if desired.
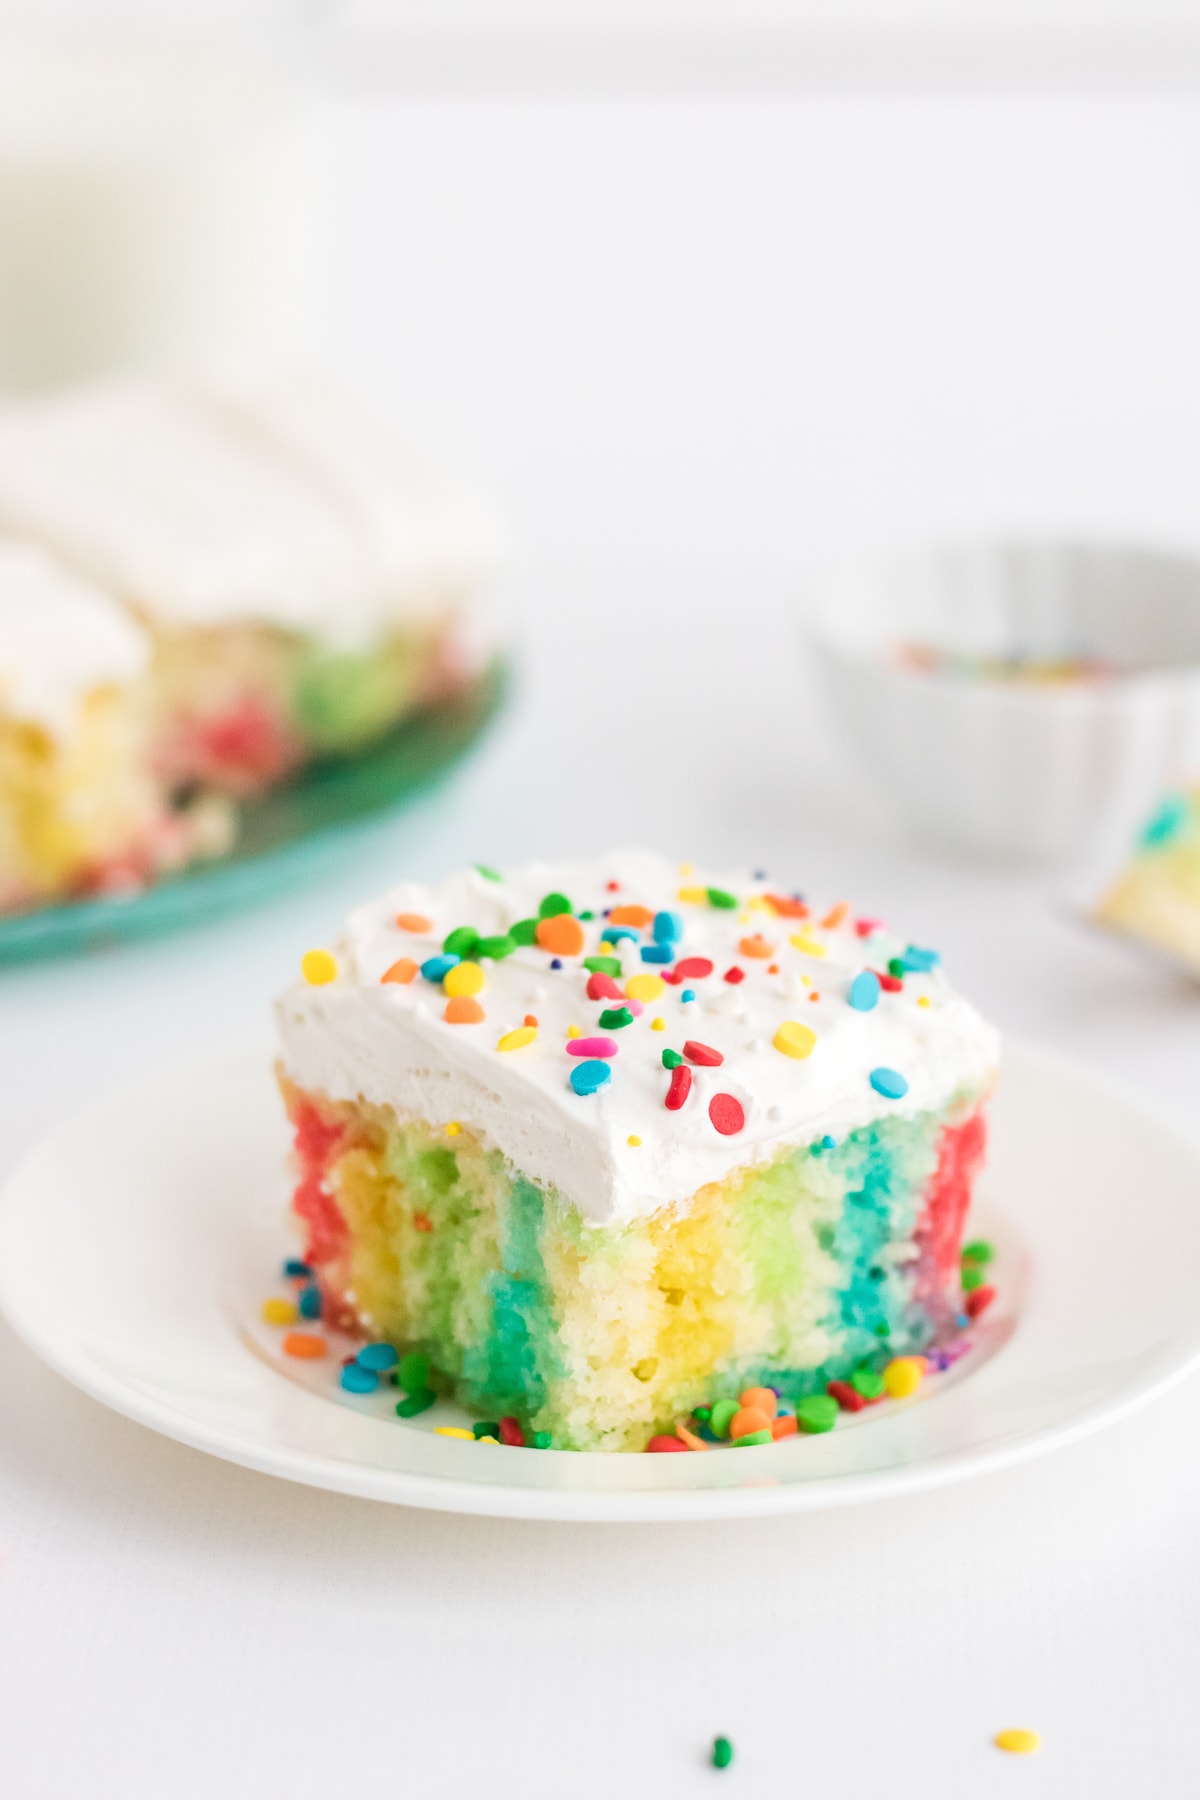
Enjoy your colorful creation! Use any leftover jello for extra treats.
Recipe tips and variations
- It’s important to chill the cake before frosting. This makes sure the jello sets within the cake and prevents it from becoming soggy. Keep it refrigerated until ready to serve.
- If you can’t use cool whip we have used heavy cream, even plant based dairy free heavy cream works well!
- Make sure you place the holes evenly, this ensures a good result that everyone has a bit of flavor and color in their slice.
- Use sprinkles on top or your favorite fruit!
Can I use different flavors of Jello?
Yes, enjoy whatever jello flavors and colors you prefer!
How should I store leftover Jello poke cake?
You should enjoy Jello Poke Cake within 3 days.
Can I make the cake in advance?
Yes, you can prepare the cake one day in advance. Keep refrigerated until ready to serve.
Can I use a different cake mix flavor?
We recommend sticking with white or yellow cake. Unless you’re doing a specialty cake like an Oreo poke cake or a chocolate pudding poke cake!
more cake recipes

Jello Poke Cake
Ingredients
- 1 box white cake mix
- 1 cup water
- ½ cup vegetable oil
- 3 eggs room temperature (take out 30 minutes prior to prep)
- 4 cups boiling water divided
- 3 oz strawberry jello mix
- 3 oz lemon jello mix
- 3 oz blue raspberry jello mix
- 3 oz lime jello mix
- 8 ounce Cool Whip whipped topping
Instructions
- Start by preheating your oven to 350°F. Lightly grease a 9×13 inch baking pan with cooking spray and set it aside.
- Take a large bowl and mix together the cake mix, 1 cup of water, vegetable oil, and eggs until they’re well combined.
- Transfer the batter into your greased baking pan, smoothing it into an even layer. Bake it for 25 minutes, or until a toothpick inserted into the center comes out clean.
- After baking, let the cake cool. Then, take the handle of a wooden spoon and poke holes all over the cake, about each inch apart.
- In four separate small bowls, dissolve each jello mix with 1 cup of boiling water. Stir each until the jello has completely dissolved.
- With a tablespoon, carefully pour the different jello mixtures into the holes you’ve poked in the cake, alternating colors as you like. Fill each hole, but be mindful not to use up all the jello mixture.
- Refrigerate the cake for 2 hours to let it cool and set the jello within the holes.
- Once the cake has cooled, evenly spread the whipped topping across the top of the cake. If desired, add sprinkles for a festive look.
- Serve and enjoy! Remember, there will be leftover jello, so consider making some jello jigglers in a glass pan as a fun extra treat.
Nutrition
So nice to have you here! Did you try this recipe? ⭐ ⭐ ⭐ ⭐ ⭐ Be sure to leave a recipe rating! Also, tag us @courtneyssweets #courtneyssweets on Instagram so we can share it!