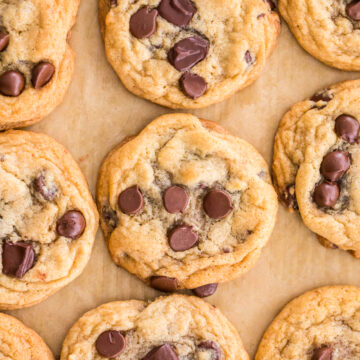
Chocolate Chip Cookies – the only recipe you’ll ever need!
This post may contain affiliate links. Please see my disclosure policy for more information.
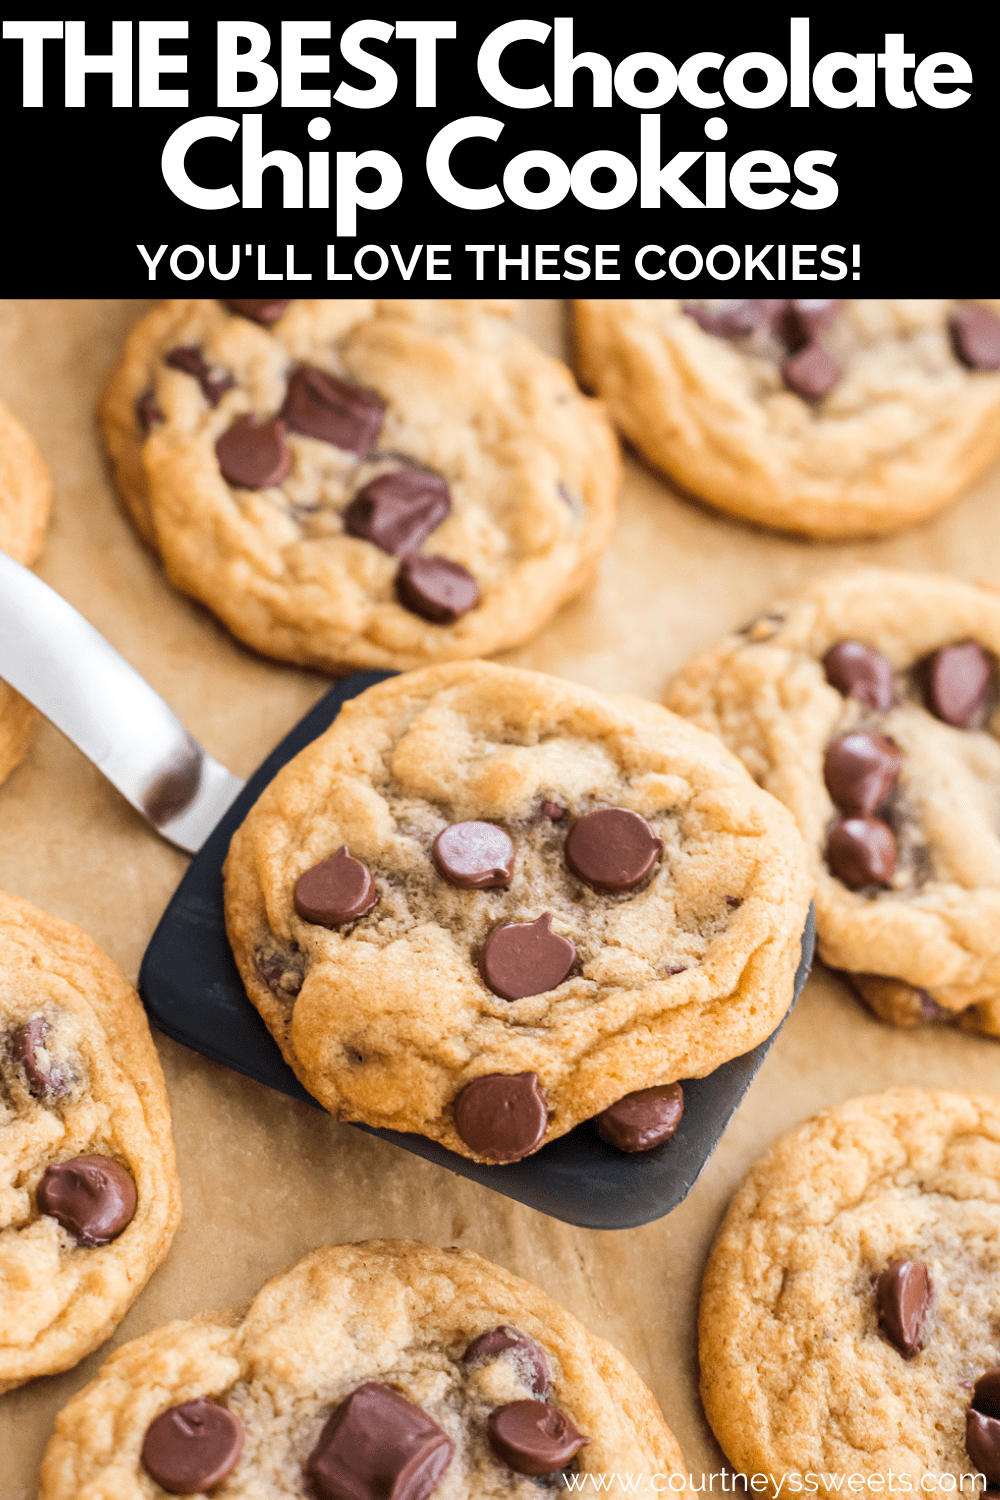

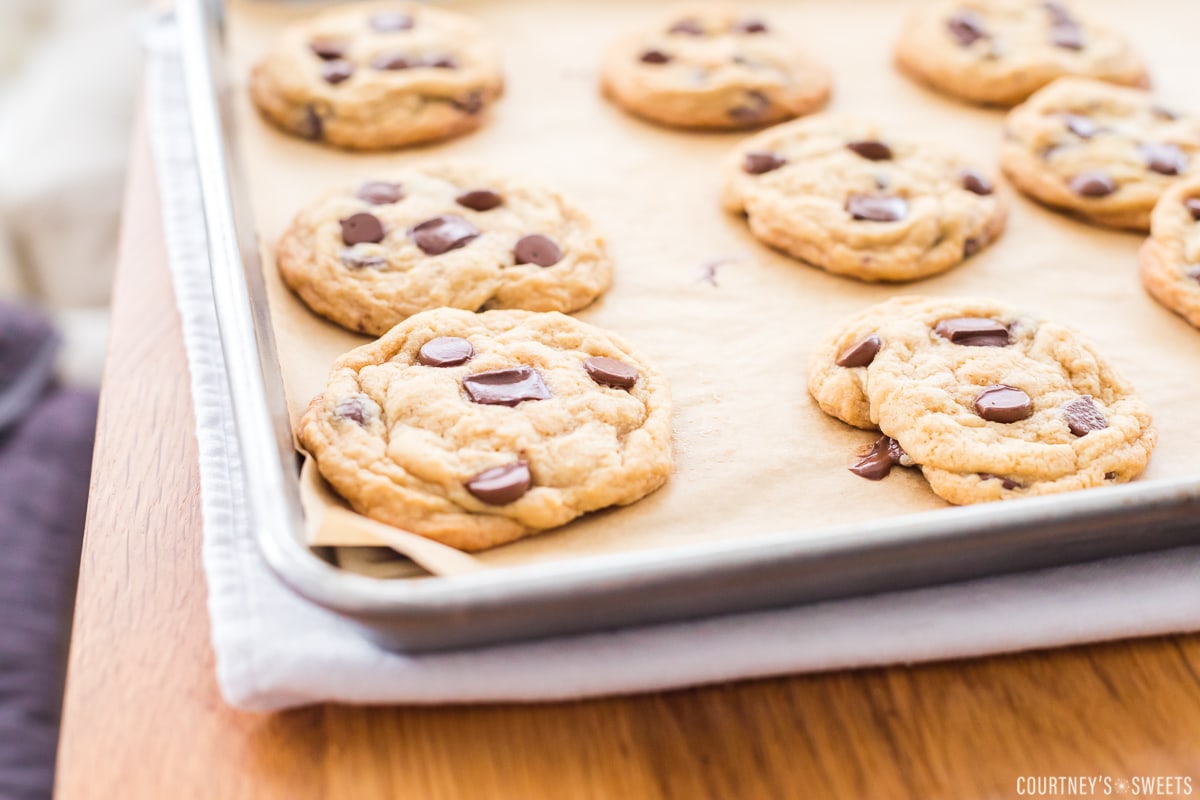
These Chocolate Chip Cookies are the only recipe you’ll ever need, really. They are easy to make, require no chilling, can be frozen for whenever there’s a craving, and can easily be made dairy free or vegan with swaps.
My family loves cookies and once I start making the batter they are already asking me when the cookies will be ready. In most cookie recipes I make I allow the dough to chill a few hours, like our mandel bread, but these cookies can be made right away.

I do make these regularly as dairy-free chocolate chip cookies as do not eat any dairy and our son has a dairy allergy so we just use vegan butter. They can also be made completely vegan by using applesauce instead of eggs.
Ingredients and notes
- Salted Butter – I’m dairy free and our son is allergic to dairy so we use country crock plant based butter or earth balance. We find that this recipe works well with both regular and dairy free butter. If you use unsalted butter you’ll need to add about 1 teaspoon of salt.
- Sugar – As much as we like cane sugar we find that it has a harder crystal than regular granulated sugar so for these cookies we recommend only using granulated sugar.
- Light brown sugar – Make sure you’re using light and not dark brown sugar. Dark brown sugar has more molasses and a stronger flavor.
- Vanilla – We recommend using a good quality vanilla extract, not imitation.
- Eggs – We use large eggs and take them out of the refrigerator 30 minutes prior to making the chocolate chip cookie dough. If you cannot have eggs you can also use a 1/2 cup of unsweetened applesauce.
- All-Purpose Flour – Regular old all-purpose flour is what works best for these cookies.
- Cornstarch – Using cornstarch in cookies helps give the cookies a softer consistency.
- Baking soda and baking powder – Both baking agents are a must for chocolate chip cookies and help the cookies rise.
- Chocolate Chips and Chocolate Chunks – It wouldn’t be a chocolate chip cookie without chocolate chips! We use a combination of chocolate chips and chocolate chunks. You could also add in white chocolate, nuts, or dried fruit.
Optional toppings to add after baking:
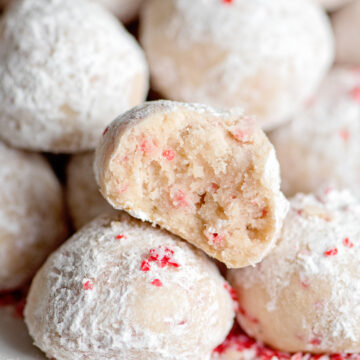
- Powdered Sugar – I went to an event in NYC and Jacque Torres had brought his famous chocolate chip cookies and they were sprinkled with powdered sugar. It was so good so now we dust ours with powdered sugar as well. Sometimes we’ll even add in a bit of cinnamon as well for another level of flavor.
- Maldon sea salt – If you like a salty addition to your cookies Maldon sea salt is our favorite flakey sea salt for baked goods.
Optional mix-ins:
- Nuts
- Seeds
- Dried fruit
- M&Ms
- Candy bar bits
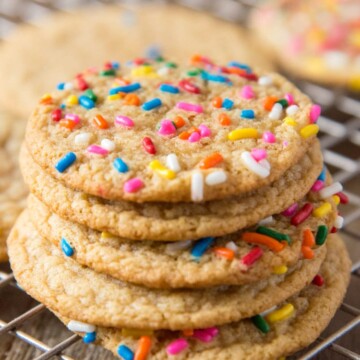
- Sprinkles
How to make chocolate chip cookies
For the full ingredient amount and full instructions on how to make chocolate chip cookie dough see the recipe card below.
Preheat your oven to 375 degrees F.
Cream the sugar and butter together in a stand mixer.
Combine the dry ingredients in a bowl.
Then you’ll add the eggs and vanilla into the butter and sugar mixture.
Once that is combined you’ll combine the wet and dry mix (do not overmix) and then add in the chocolate chips.
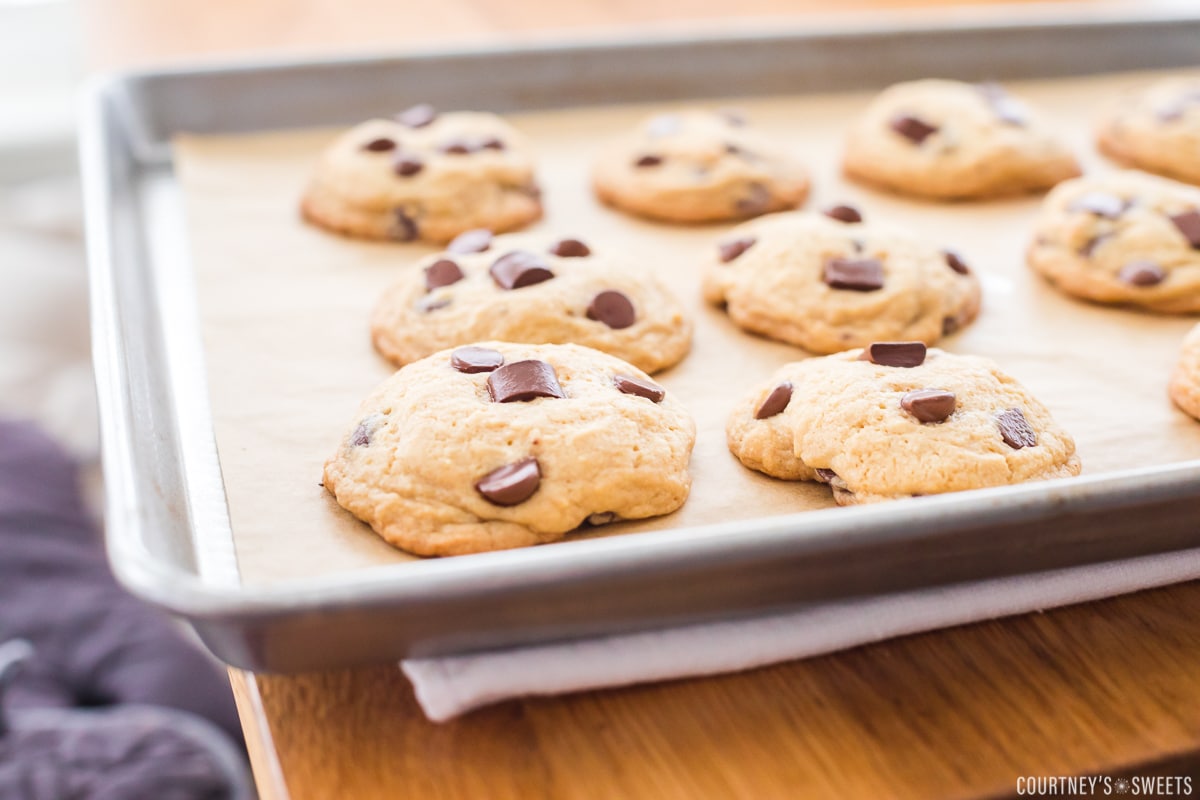
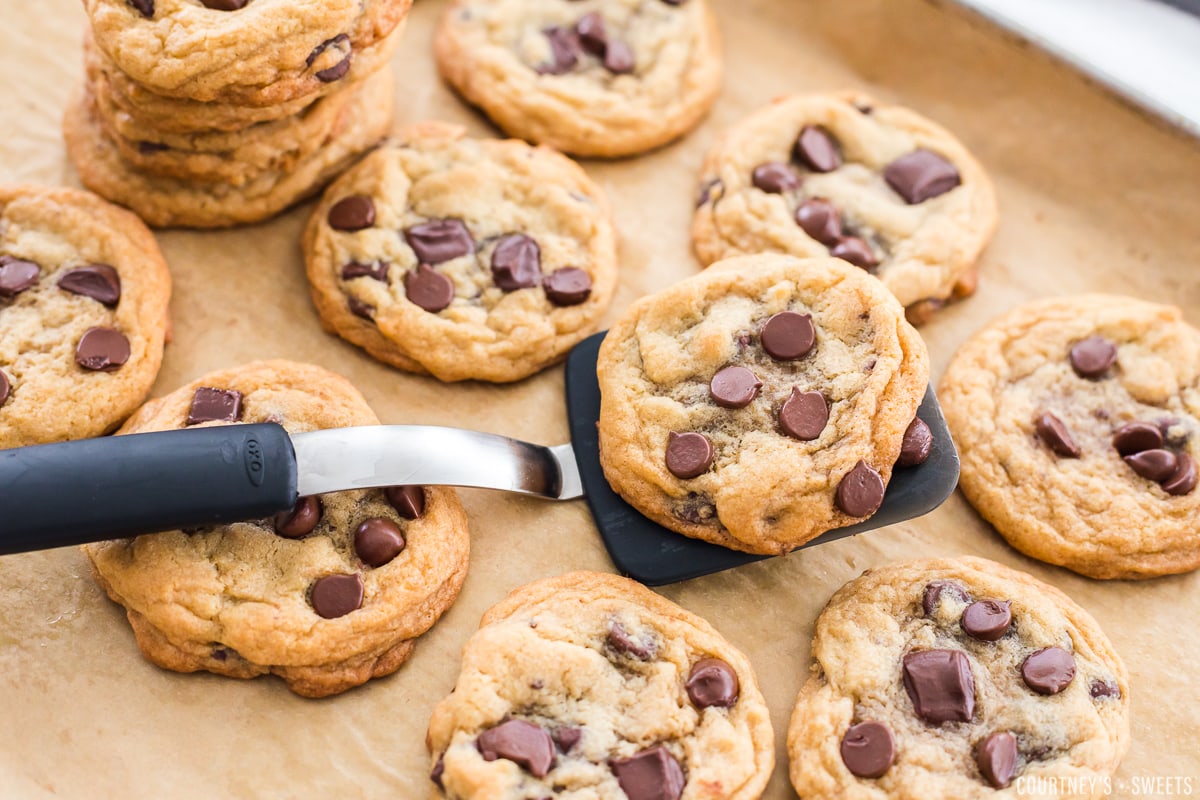
Use a cookie scoop to ensure consistently sized and baked cookies and place onto a nonstick baking mat or parchment-lined baking sheet.
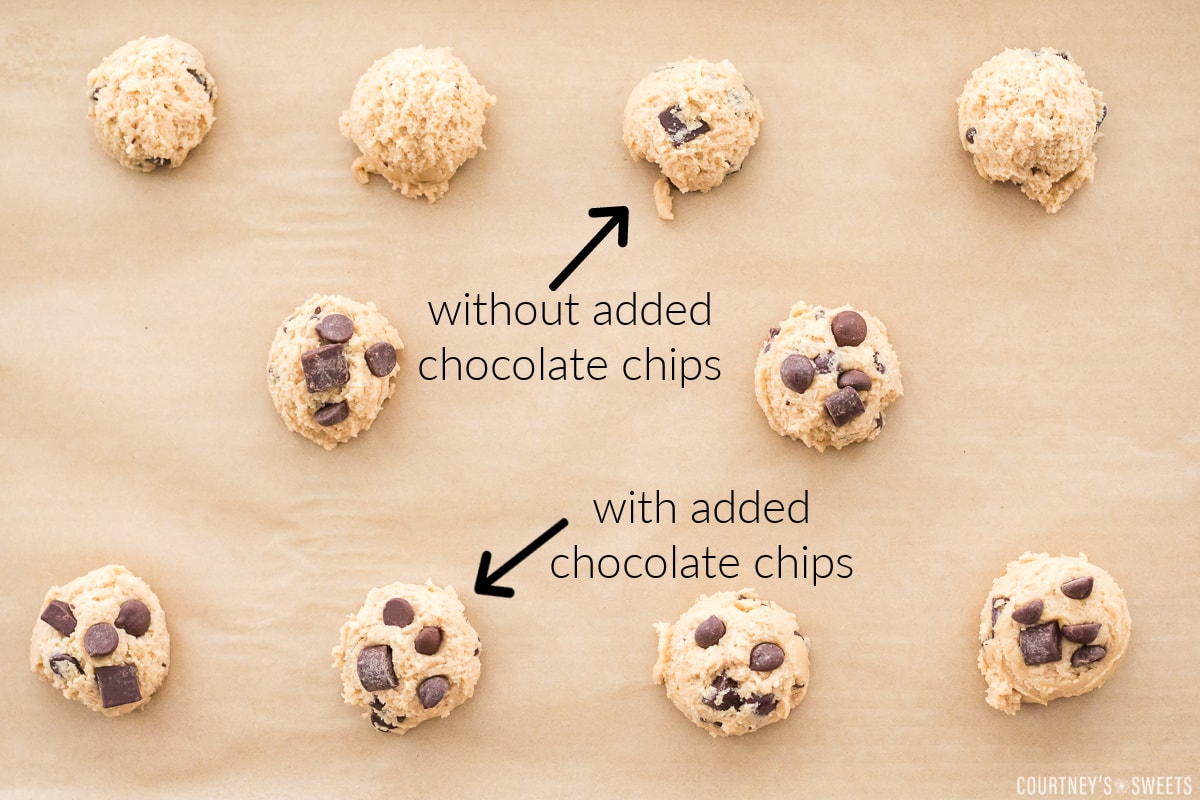
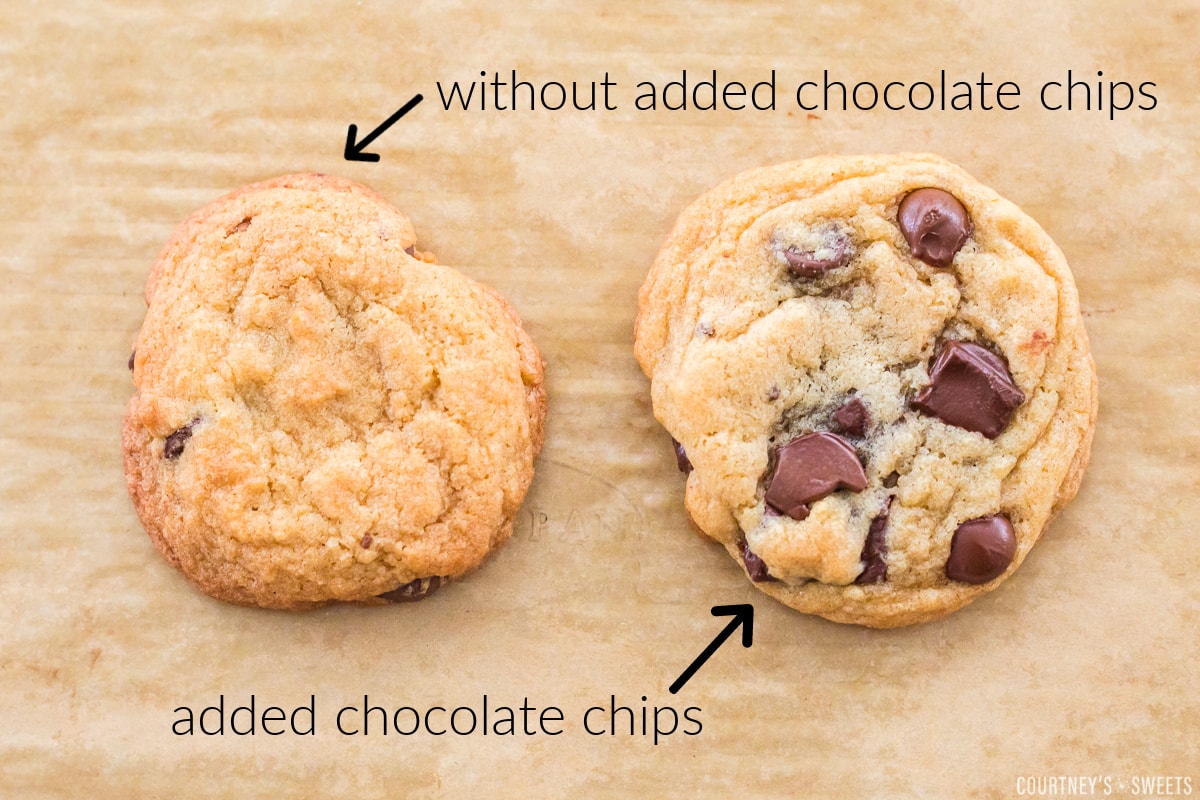
Add extra chocolate chips to the top to make your cookies look more appealing.
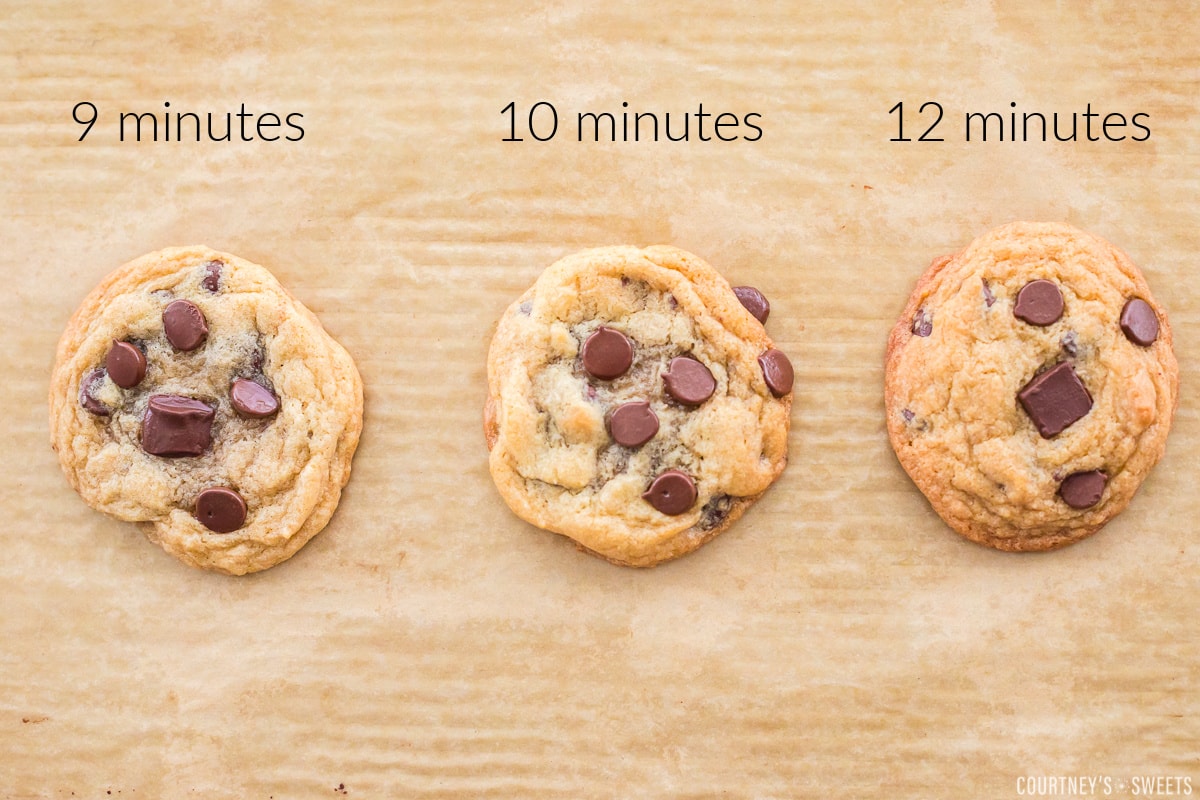
Bake the cookies for 9-10 minutes and then cool on a wire rack. You can stack them once the chocolate chips are cooled.
We suggest banging the cookies for more ripples and texture.
Do this by carefully dropping the cookie sheet onto a towel on the counter.
Recipe Tips:
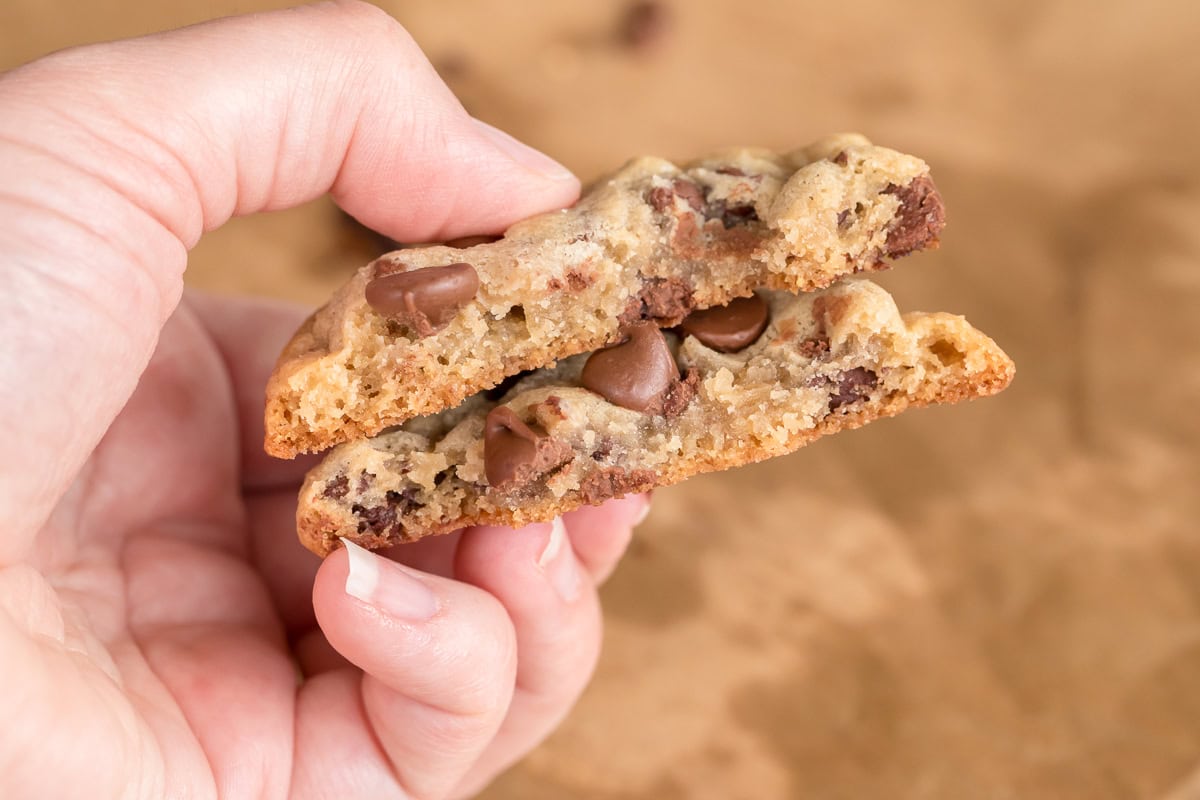
- I prefer my cookies around 9 minutes, whereas my husband likes 10 minutes. Cooking 9 minutes will give you more of a soft and chewy cookie and you’ll get more of a crispy cookie 10 minutes and after.
- Carefully dropping the cookie sheet onto a towel lined counter after baking is our best cookie trick! After that you can let the cookies sit on the baking sheet for 2 minutes and then you can transfer to a cooling rack. This step is optional but we find it gives the cookies the best texture. Be cautious doing this on a fragile counter. You can also allow the cookies to sink naturally on their own as they cool.
- Wait until the oven is preheated. To ensure your oven is cooking at the correct temperature we suggest using an oven thermometer to check.
- Don’t worry you won’t over bake the cookies. They will continue to cook after you remove them from the oven. Don’t bake longer than 12 minutes if your oven temperature is correct.
- Add a few chocolate chips or chunks to the tops of the cookie dough balls before baking. This will make your cookies pretty when they come out and look full of chocolate chips on the top not just inside.
How to freeze cookie dough
Scoop the dough onto a parchment-lined baking sheet and leave a little space between the cookies. You can leave a tiny amount of space as you’re not baking them, just enough to prevent them from sticking to each other.
Freeze the chocolate chip cookie dough balls and once the dough is mostly frozen you can place it into a freezer-safe container.
When you’re ready to bake the dough you can let it sit on the counter for about 30 minutes the oven preheats or you can leave them in the refrigerator overnight.
How to cook frozen cookies
Thaw the cookies by letting them sit at room temperature for about an hour. Then you can follow the baking directions on the recipe card.

Frequently asked questions
If you want an ooey-gooey cookie, 375 degrees F is the sweet spot for cookies. Read more about the perfect cookie temperatures over at Food Network.
Cookie dough should last 8-12 months in a freezer-safe container or freezer-safe bag.
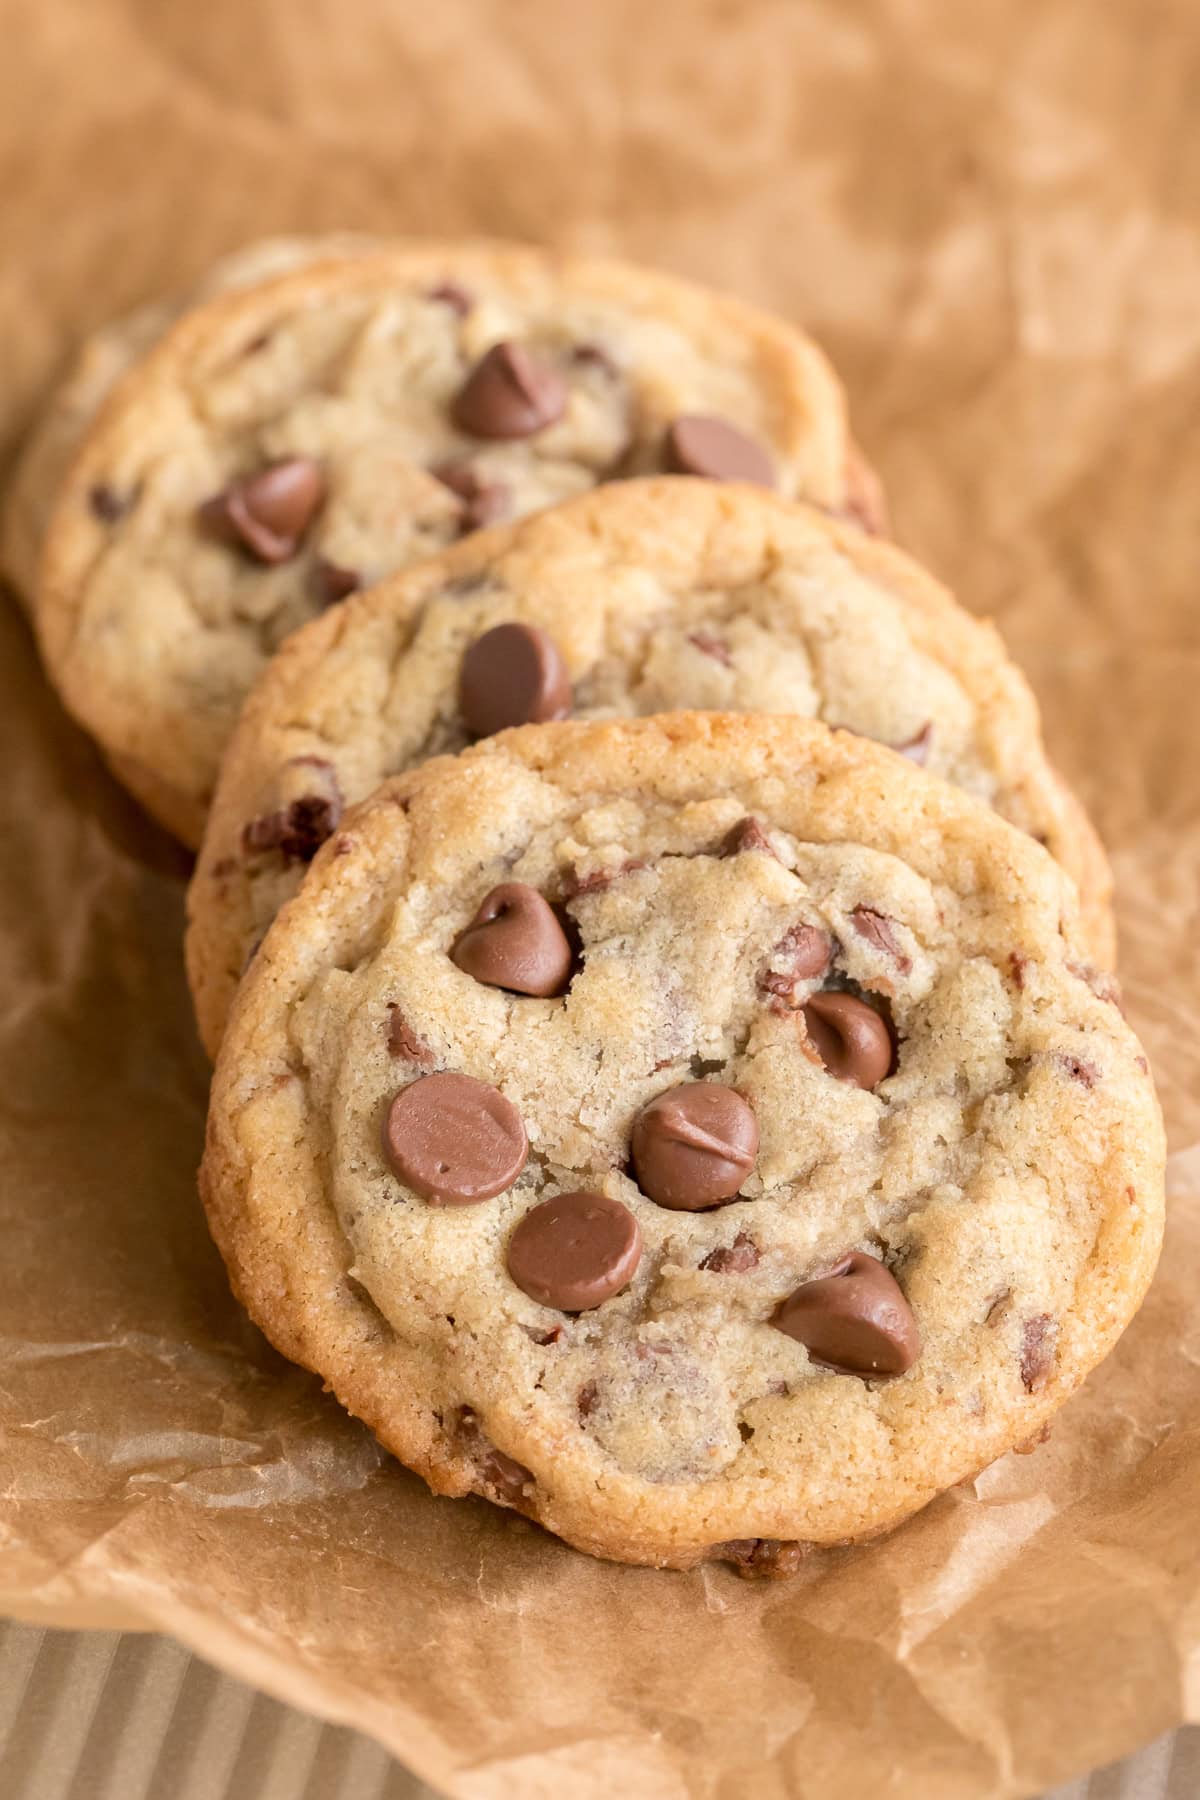
You’ll start to see a slightly golden brown edge to the cookies and the cookies will appear fluffy and look almost done. If you want until they look completely cooked and edges are darker brown, they will be overcooked.
Homemade cookies should last about 5 days at room temperature in a cookie jar.
I take my butter out about 30 minutes to an hour before baking this ensures the butter is the right consistency. If it’s too soft it can cause the cookies to spread too much.
We like to add a piece of bread into the cookie container to keep the cookies soft. The moisture from the bread will keep the cookies from becoming hard, just like it softens brown sugar.
Pan banging or dropping cookies isn’t a new technique, many bakers have been doing it forever. When you bang the baking sheet the cookies will deflate immediately and release air that caused them to be puffy. Now you will have a gooey center and more ripples on your cookies.
Baker’s secret, add chocolate chips to the tops of the cookies in addition to adding them into the cooking dough.
Use vegan butter and instead of 2 eggs you’ll use a 1/2 cup of applesauce.
more baking ideas
Chocolate Chip Cookies – the only recipe you’ll ever need!
Ingredients
- 2 sticks salted butter country crock plant butter sticks are our preferred dairy free
- 1 1/4 cup (266 g) light brown sugar
- 3/4 cup (149 g) granulated sugar
- 2 teaspoons vanilla extract
- 2 large eggs
- 3 cups (360 g) all purpose flour
- 1 1/2 teaspoons cornstarch
- 1 teaspoon baking soda
- 1/2 teaspoon baking powder
- 1/4 teaspoon salt
- 1 cup (170 g) chocolate chips enjoy life is our preferred dairy free
- 1 cup (170 g) semi-sweet chocolate chunks enjoy life is our preferred dairy free
- 1/3 cup (57 g) chocolate chips and chunks optional for topping before or after baking
Instructions
- Preheat your oven to 375 degrees F.
- Line a baking sheet with a nonstick baking mat or parchment paper and set aside.
- In a stand mixer cream the butter, light brown sugar, and sugar together until creamy.2 sticks salted butter, 1 1/4 cup light brown sugar, 3/4 cup granulated sugar
- Then add in the eggs and vanilla and beat for another 20 or so seconds until combined. Set aside.2 teaspoons vanilla extract, 2 large eggs
- In a large bowl mix the flour, cornstarch, baking soda, and baking powder. Set aside.3 cups all purpose flour, 1 1/2 teaspoons cornstarch, 1 teaspoon baking soda, 1/2 teaspoon baking powder, 1/4 teaspoon salt
- Add the dry ingredients to the butter mixture and mix until just combined, do not overmix.
- Fold in the chocolate chips and chocolate chunks using a rubber spatula.1 cup chocolate chips, 1 cup semi-sweet chocolate chunks, 1/3 cup chocolate chips and chunks
- Use a small cookie scoop and place 8-10 cookies on the baking sheet and bake for 9-10 minutes. We like to add extra chocolate chips to the top before baking.
- Place a towel on the counter and then remove the baking sheet from the oven. Carefully drop the cookie sheet onto the towel. Let the cookies sit on the baking sheet for 2 minutes and then you can transfer to a cooling rack. This step is optional but we find it gives the cookies the best texture.
- Remove cookies from the baking sheet and cool on a wire rack.
- Dust with powdered sugar or sprinkle with Maldon sea salt if desired.
Video

Notes
- 9 minutes will give you more of a soft and chewy cookie, 11 minutes and after you’ll get more of a crispy cookie.
- Carefully dropping the cookie sheet onto a towel-lined counter after baking is our best cookie trick! After that, you can let the cookies sit on the baking sheet for 2 minutes, and then you can transfer them to a cooling rack. This step is optional but we find it gives the cookies the best texture. Be cautious doing this on a fragile counter. You can also allow the cookies to sink naturally on their own as they cool.
- To ensure your oven is cooking at the correct temperature we suggest using an oven thermometer to check.
- Add a few chocolate chips or chunks to the tops of the cookie dough balls before baking. This will make your cookies pretty when they come out and look full of chocolate chips on the top not just inside.
- Dairy Free use country crockplant butter sticks, Gluten Free use King Arthur Gluten Free Flour, Egg Free use 1/2 cup unsweetened applesauce. Vegan use vegan butter and applesauce.
Nutrition
Did you try this recipe? Be sure to leave a recipe rating! Also, tag us @courtneyssweets on Instagram so we can share it!
So glad you enjoyed them!! 😀