

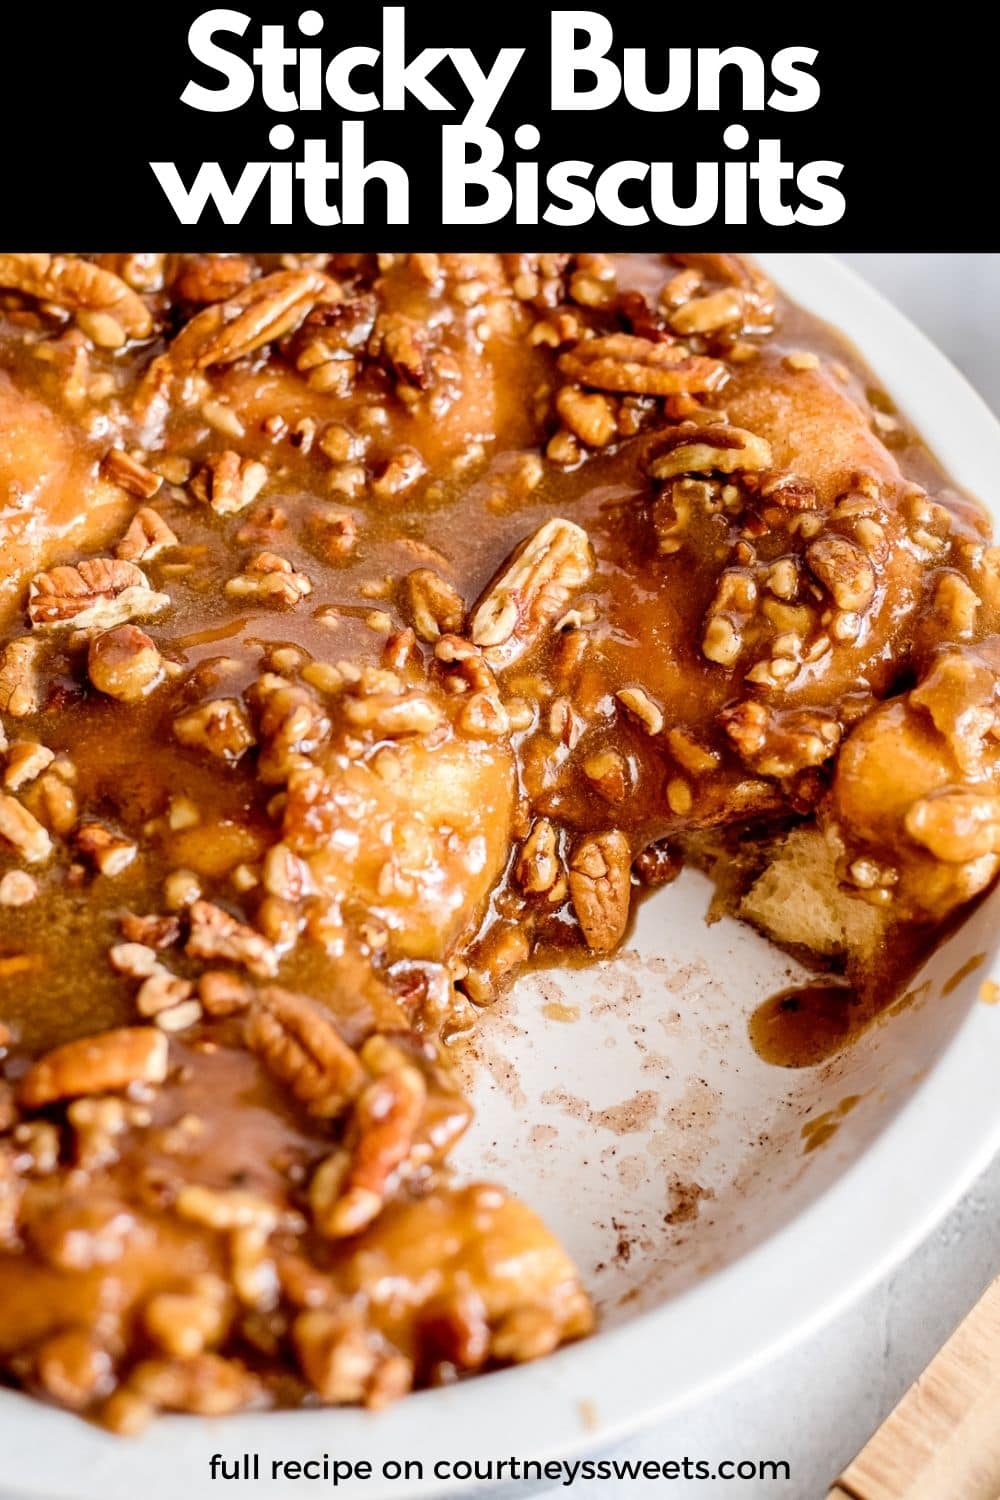
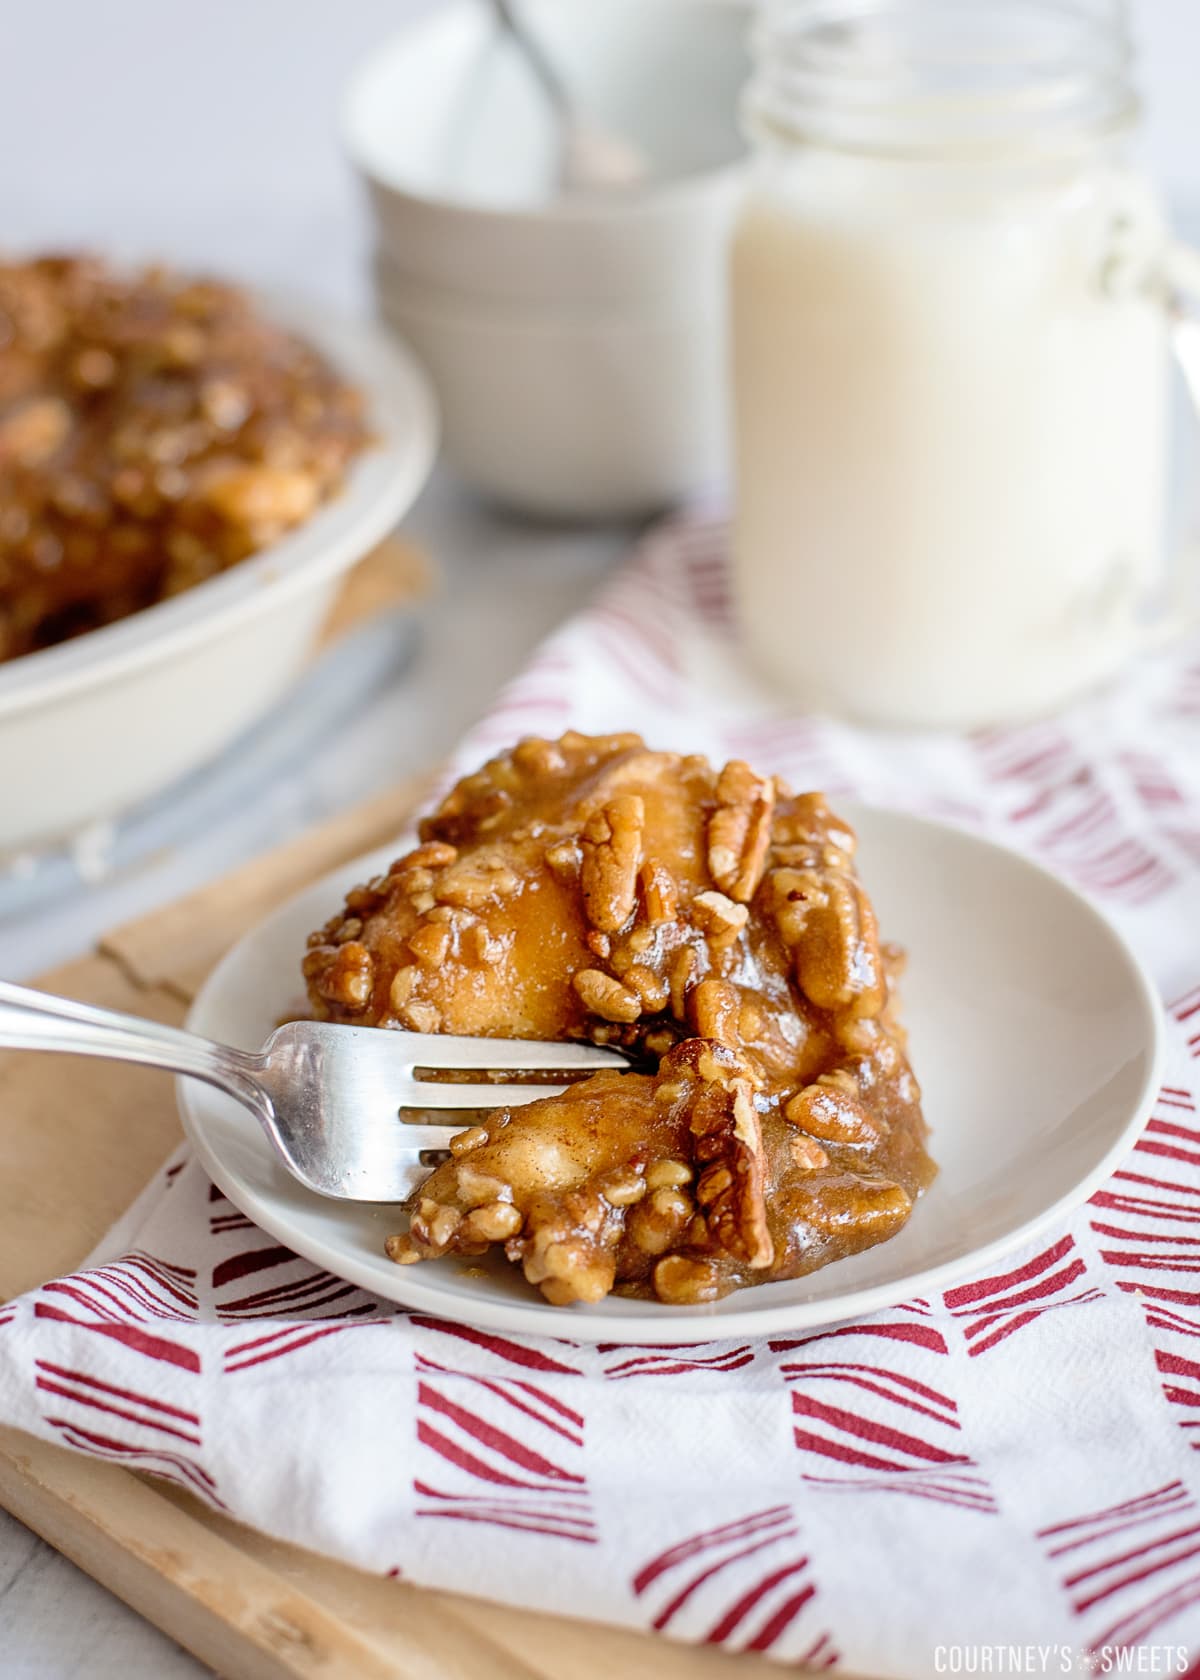
Sticky buns with biscuits is a shortcut to making a classic sticky bun. You have tender biscuits that are seasoned with cinnamon and sugar, and topped with a caramel and pecan glaze that will wow your family!
No one even has to know you used biscuits as the base to this biscuit sticky bun recipe. Whip these up for brunch, weekend breakfast, or even for Christmas morning. An easy sticky buns recipe that won’t leave you stuck in the kitchen for too long.
Sometimes learning shortcuts in the kitchen will help simplify your time, and allow you to spend more time with your family. Give this easy breakfast recipe a try!
Sticky buns ingredients and notes:
- Biscuits – I used flakey butter layered biscuits. But you are welcome to use what you have on hand. The flakey biscuits offer a lighter texture.
- Butter – The butter helps the cinnamon and sugar stick but also used in making the buttery maple and pecan topping.
- Cinnamon and Sugar – You will coat your biscuits in the cinnamon and sugar. This is the secret to taking biscuits and transforming them.
- Brown Sugar– Light or classic brown sugar works for making the glaze you pour on top. It adds a buttery caramel component to the sauce.
- Maple Syrup – I recommend real maple syrup for this.
- Pecans – Use chopped pecans for a nice crunchy component that really throws these buns over the top.
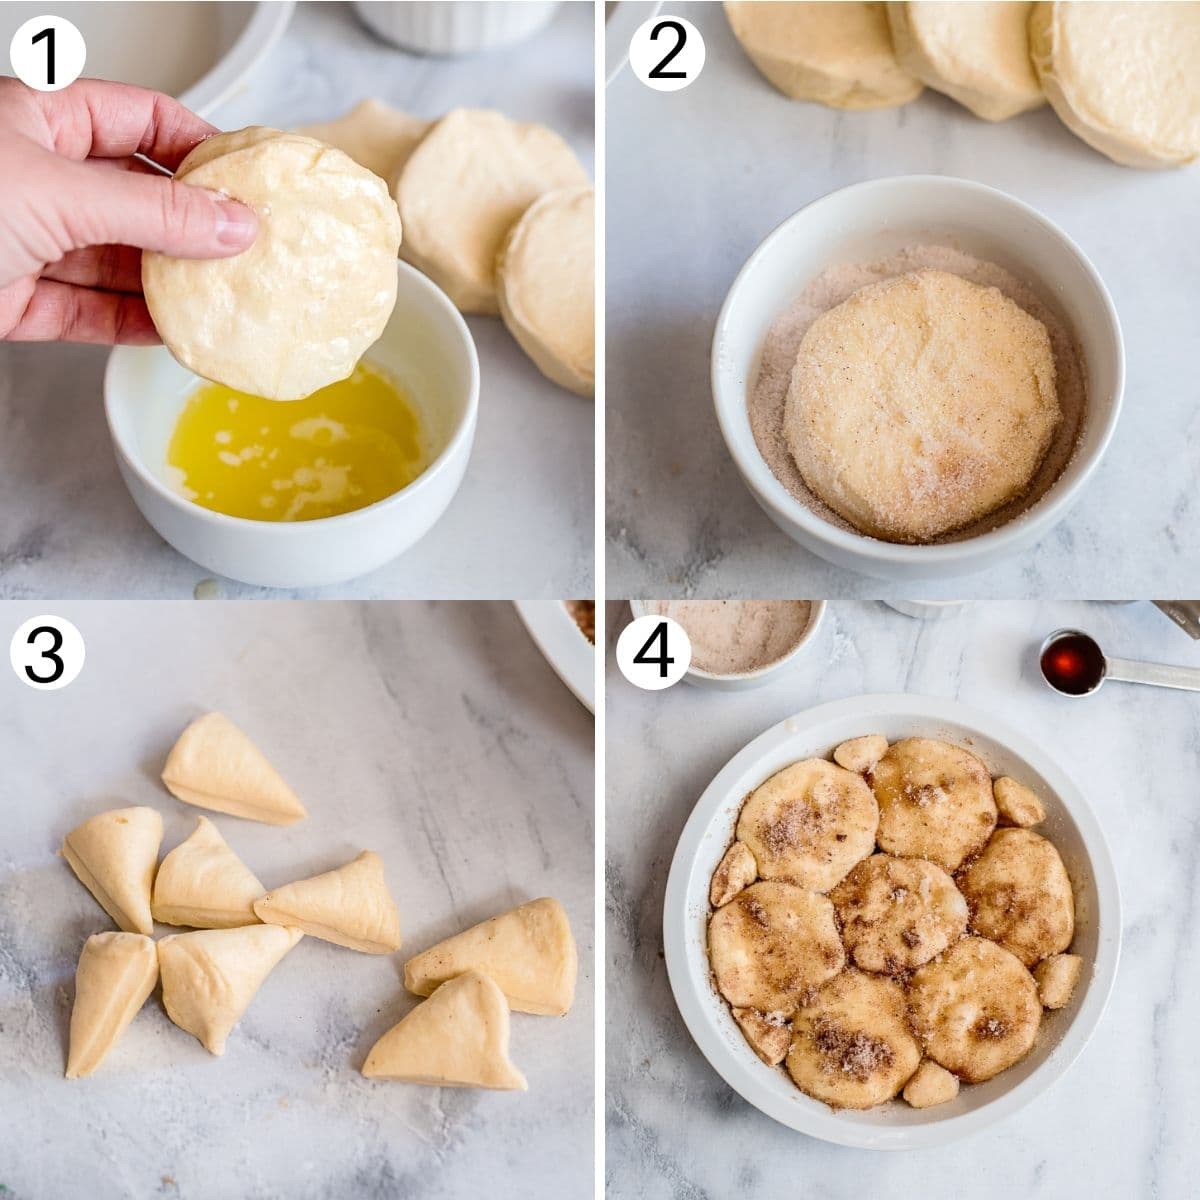
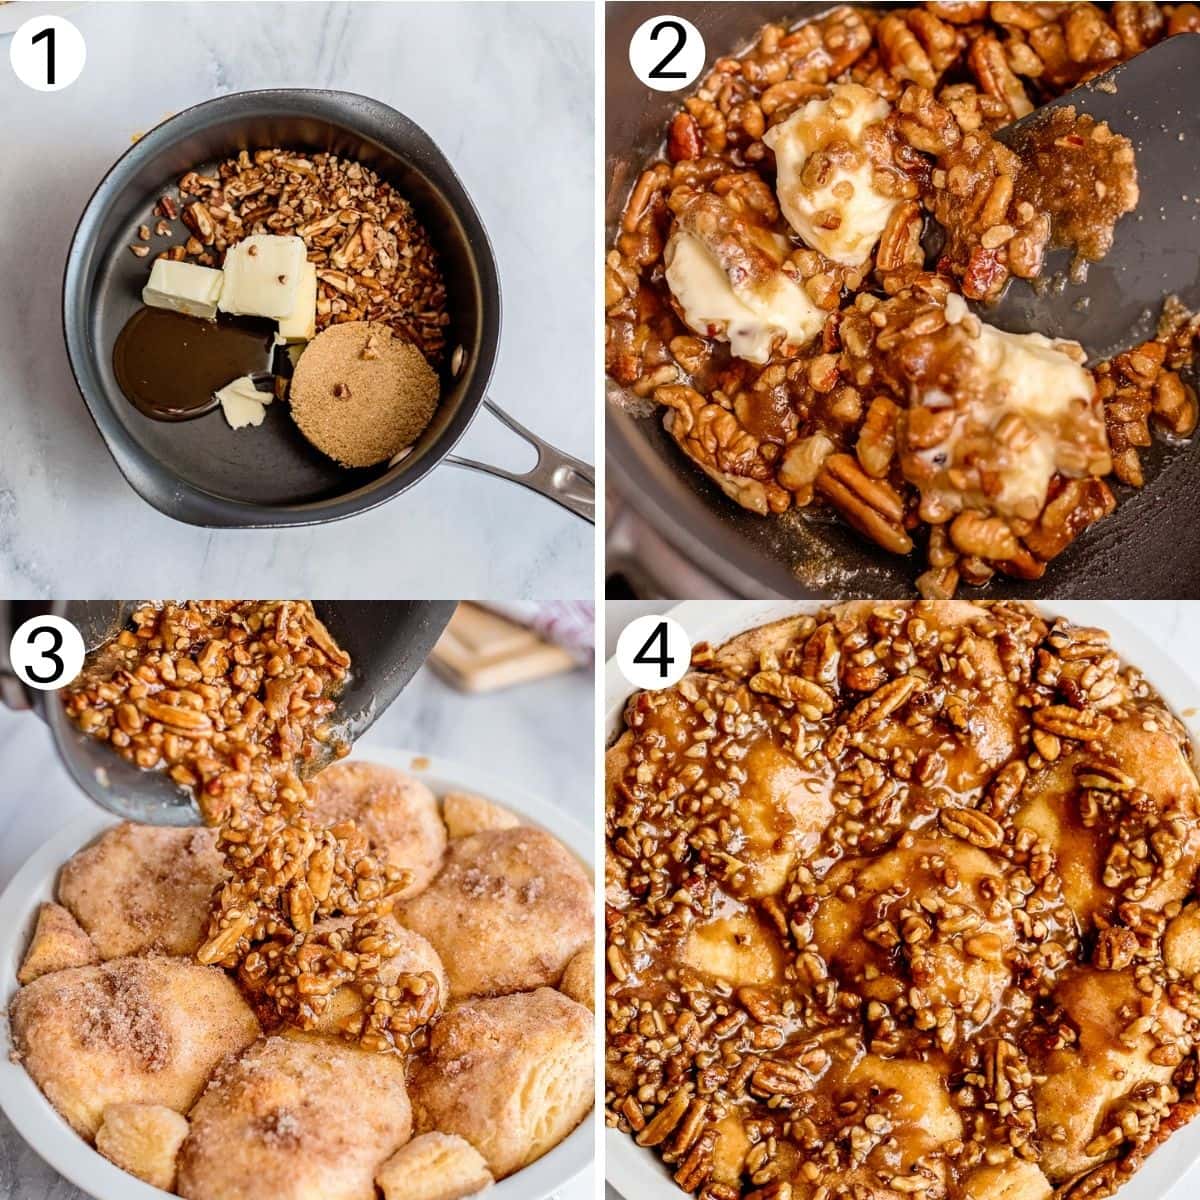
Step-by-step instructions:
For the full ingredient amount and full instructions on how to make pecan sticky buns see the recipe card below.
- Preheat oven to 350F degrees. Grease the pan as directed.
- Melt butter in one bowl and then cinnamon and sugar in another.
- Dip biscuits in the butter on both sides, and then coat in the cinnamon and sugar.
- Arrange biscuits in the pan, spreading them all over. The last biscuits you can cut in quarters and then tuck in spots that are bare.
- Bake for 15-17 minutes or until the biscuits are done.
- While the biscuits are cooking pour the topping items in a pan on the stove. Cook until the sugar is melted and not gritty.
- Pour over the top of the biscuits and spread pecans all around the top.
Recipe Tips:
- Ensure you coat both sides of the biscuits with the butter and the cinnamon sugar mixture. This will help give the biscuits a richer flavor.
- You can swap the maple out with honey if you would like or leave it out altogether.
- Leave off the nuts if you are not a fan of pecans. Or you can even use walnuts in replace.
- You can do a cream cheese topping in replace of the brown sugar mixture if you want a cream cheese based biscuit buns.
Storage and reheating tips:
- Refrigerate: If you have leftover rolls I recommend refrigerating them in an airtight container. They will store for 3-4 days.
- Freeze: Place the sticky buns in an airtight container and store for 2-3 months. I recommend a single layer, to prevent them from sticking. Then refrigerate overnight for them to thaw out when you are ready to eat.
- Reheat: Warm up the rolls in the microwave or consider heating up in the oven. Do 325 degrees F and cover the rolls in foil tightly, to prevent them from burning.
How to serve:
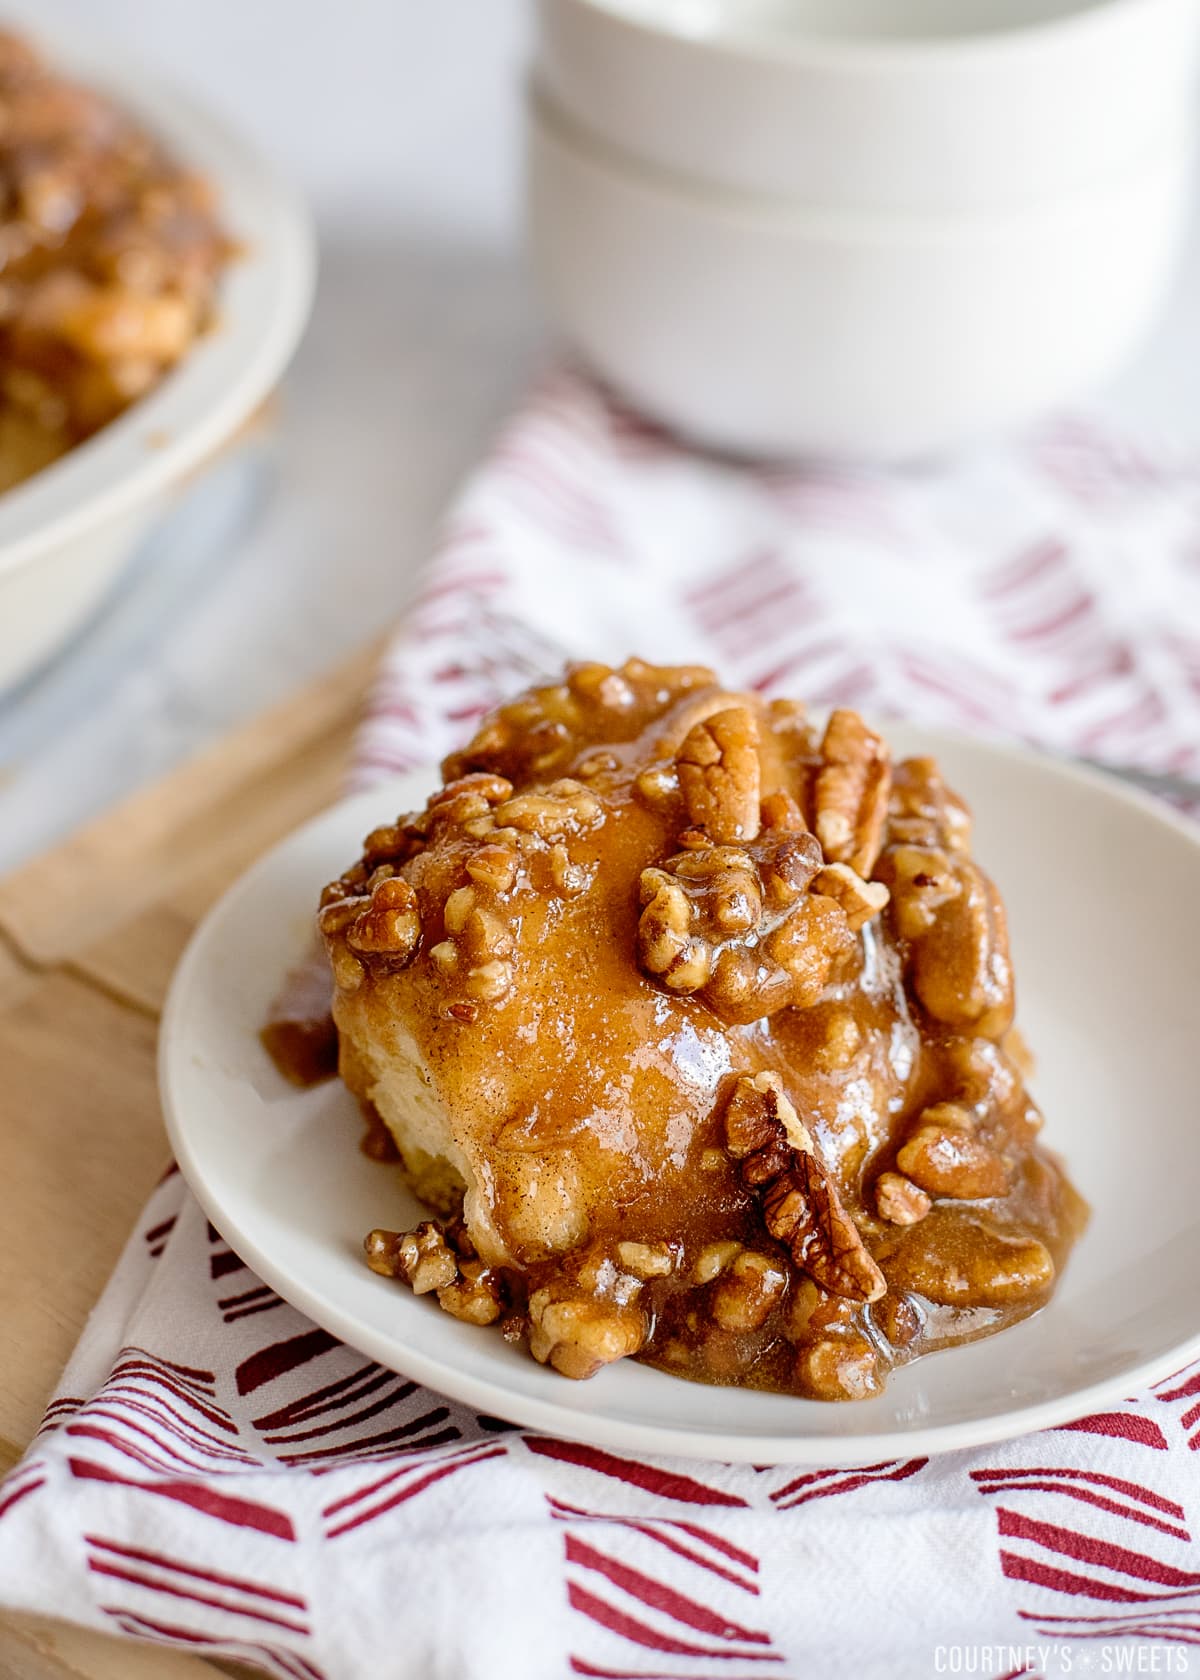
These caramel sticky buns are great to serve up for breakfast, brunch or even a dessert. Pair with a side of bacon, sausage, or even a bowl of fresh fruit.
FAQs
Yes! You can use any brand of biscuits. I recommend using flakey or buttermilk-style biscuits. I don’t think the butter biscuits would bake up that good as the butter specks would affect the texture.
Absolutely. Just dip each roll in the butter, and skip the cinnamon and sugar mixture. Then bake the same, and top with the pecan glaze at the end.
You are more than welcome to double the recipe. Use two cans of biscuits for a 9×13 pan, instead of 9×9 size pan.
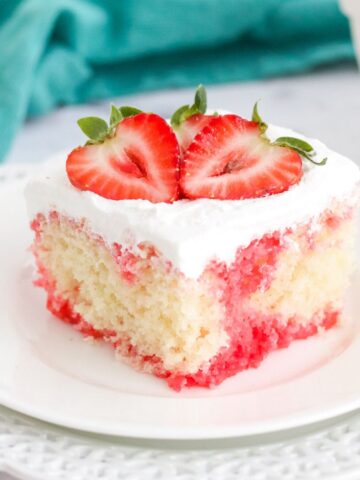
more storebought biscuit recipes
Sticky Buns with Biscuits
click the stars to rate this recipe
Print Pin Recipe 🖤 SaveIngredients
- 1 can Pillsbury Grands Flaky Layer Butter Tasting biscuits
- 3 tbsp unsalted butter melted
- 2/3 cup granulated sugar
- 1 tsp ground cinnamon
Toppings
- 1/3 cup light brown sugar
- 1 tbsp maple syrup
- 3 tbsp unsalted butter
- 1/2 chopped pecans
Instructions
- Preheat oven to 350 degrees. Prepare a 9 or 10 inch cake pan or pie pan with a non-stick spray.
- In one small bowl, melt the 3tbsp of butter from the biscuit ingredients. In another small bowl, mix together the sugar and cinnamon.
- Separate the biscuits. Dip each biscuit into the butter, coating all sides. Then, dip each biscuit into the cinnamon sugar, coating all sides.
- Arrange the biscuits into your pan, squishing them close together. When you get to the last biscuit or two, and run out of room in the pan, cut the biscuit into quarters; dip and coat the quarters and tuck them into the empty spaces in the pan.
- Bake for 15-17 minutes, until done.
- When done baking, pour all of the topping ingredients into a saucepan, stir and melt over medium heat. Drizzle the sauce all over the top and down in the cracks of the biscuits; you may have to use a spatula to spread the pecans around.
- Best served same day and warm.
Notes
Nutrition
The nutritional information is automatically calculated and can vary based ingredients and products used. If the nutrition numbers are important for you we recommend calculating them yourself.
Did you try this recipe? Be sure to leave a recipe rating! Also, tag us @courtneyssweets on Instagram so we can share it!

Leave a Reply