Chocolate Cups – Edible Chocolate Cupcake Liners
This post may contain affiliate links. Please see my disclosure policy for more information.

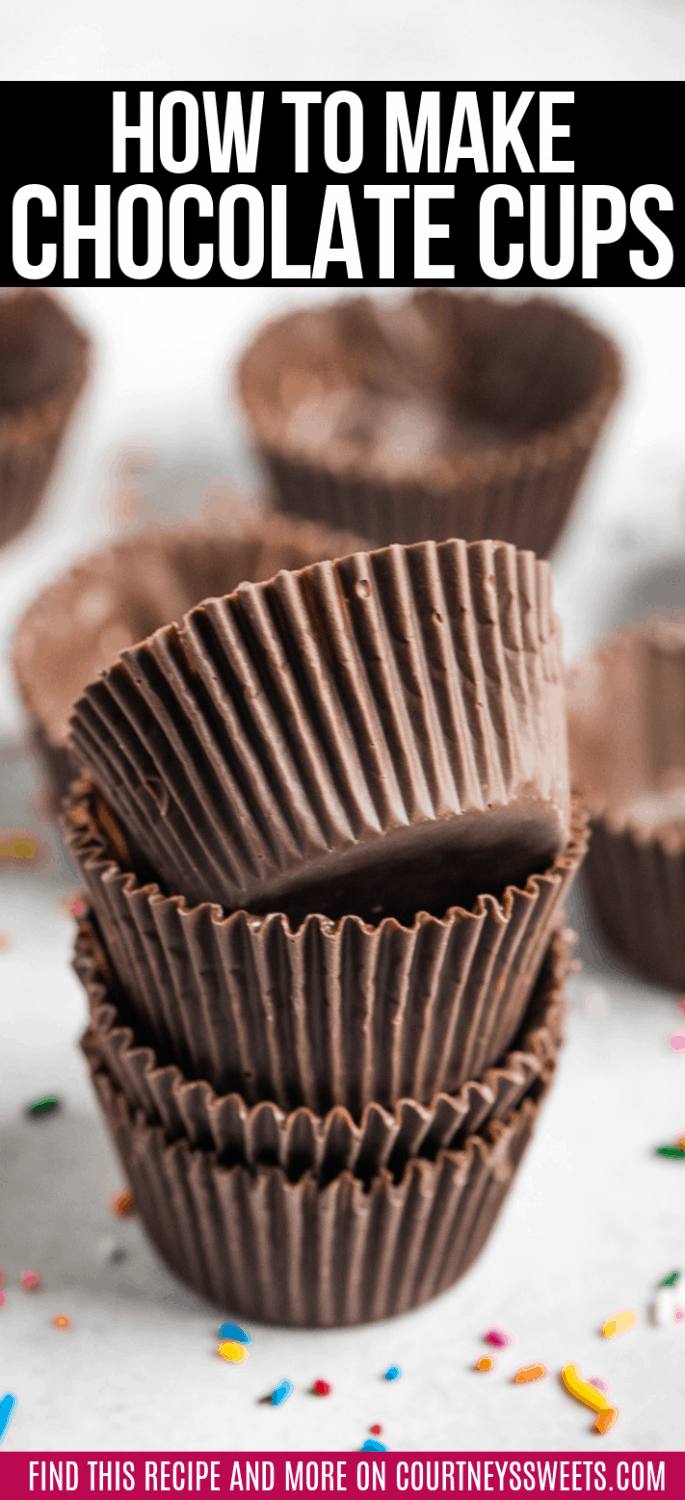
Learn how to make Chocolate Cups that look like cupcake liners that are perfect to hold your favorite desserts from chocolate mousse to ice cream!

We love making edible chocolate cups. They’re a fun treat and kids get a total kick out of the cups being edible and looking just like a cupcake wrapper. You can use any chocolate you want, milk chocolate, white chocolate, dark chocolate, or even colored chocolate. For the chocolate, you can use high-quality chocolate, chocolate chips, or even chocolate melts. I’ve been making this recipe for years and it’s definitely a fun family favorite to make and eat. We usually make it for our ice cream cupcakes or trifle cupcakes.
It’s easy to get the kids involved making this as well. You can make it even more fun by adding in sprinkles to the chocolate mixture or adding sprinkles before the chocolate sets.

HOW TO MAKE CHOCOLATE CUPS

- You’ll need chocolate, a pastry or silicone brush, a muffin pan, also cupcake liners or silicone liners.
- To melt the chocolate you can do this in the microwave by placing the chocolate in a microwave-safe bowl and cooking 30 seconds mixing and then repeat microwaving in 30-second intervals stirring until smooth and completely melted. Or you can make temperated chocolate by using the double boiler method.
- Place the paper cups or silicone cups into the muffin pan and then brush a layer of chocolate onto the liners to cover.
- Refrigerate the chocolate cups until firm, about 30 minutes.
- Once completely solid remove the cups from the liners and use as desired.

HOW TO USE CHOCOLATE CUPS
The best treats are something that doesn’t have to be baked as you cannot bake these in the oven. You can fill with mousses, frostings, homemade whipped cream, fruit salad, chocolate cake, and of course ice cream. These ice cream cupcakes are so much fun for parties topped with our homemade copycat magic shell copy recipe.

HOW TO STORE CHOCOLATE CUPS
Store the chocolate cups in an airtight container in a cool area, like a cabinet. We use within a week.

RECIPE NOTES:
- Make sure you’re making a thick layer of chocolate, if it’s too thin it will break when you remove it from the liners.
- You can refrigerate them, but keep in mind chocolate can absorb flavors, it’s best to keep them in a container if possible.
- If you’ll be serving outside try to keep them in a shaded area as it’s chocolate and they can melt.
Chocolate Cups
Ingredients
- 12 oz chocolate
Instructions
- To melt the chocolate you can do this in the microwave by placing the chocolate in a microwave-safe bowl and cooking 30 seconds mixing and then repeat microwaving in 30-second intervals stirring until smooth and completely melted. Or you can make temperated chocolate by using the double boiler method.
- Place cupcake liners into a muffin pan and then brush a layer of chocolate onto the liners to cover.
- Refrigerate the chocolate cups until firm, about 30 minutes.
- Once completely solid remove the cups from the liners and use as desired.
Notes
You can refrigerate them, but keep in mind chocolate can absorb flavors, it's best to keep them in a container if possible.
If you'll be serving outside try to keep them in a shaded area as it's chocolate and they can melt.
I am so excited to try these! I have not been able to get the store-bought chocolate cups I use to use for frozen peanut butter little-pies, which are MUCH easier to serve than cutting a big frozen pie. I have silicone and parchment liners, so will experiment with both. Thank you! I knew it would be pretty simple.
I cannot wait to make these. Can I make them ahead of time and freeze until needed?
You can, but it can change the quality and taste. Bloom will happen if they’re not protected well enough and chocolate can take on odd flavors if stored too long or near something. I prefer to make them a few days in advance if needed. 🙂
Can I use chocolate or white almond bark?
I wouldn’t use anything with almonds in it as it won’t set the same.
How do I make it thick on the sides? The chocolate keeps running down the side. Thank you
It should stay, but if you need to do another coat let it harden and then apply another layer with cooled down melted chocolate.
Disappointed. Could not get the cupcake paper off the chocolate cup without breaking the chocolate.
Hi Deborah, Oh no!! I do mention in the recipe notes to “Make sure you’re making a thick layer of chocolate, if it’s too thin it will break when you remove it from the liners.” You can also use silicone or parchment paper muffin cups to ensure they release nicely. No matter what, it needs to be thick enough to withstand the pressure of removing from the wrappers.
These were so easy! I had leftover mousse from a party so I made them with sliced strawberries on top. They were so cute I also did the 2 layers and they came out of the wrappers nicely.
I’m so glad you enjoyed, Tina!! We love using them for mousse too!!